WHAT ARE THE ACTION BUTTONS AND WHY TO USE THEM
Action Buttons offer a structured approach to updating records, especially when adherence to specific rules, like mandatory value submission, is necessary. They can be configured for various pages such as Assets, Catalog, Users, Requests, and more.

BUTTON SETUP EXAMPLE
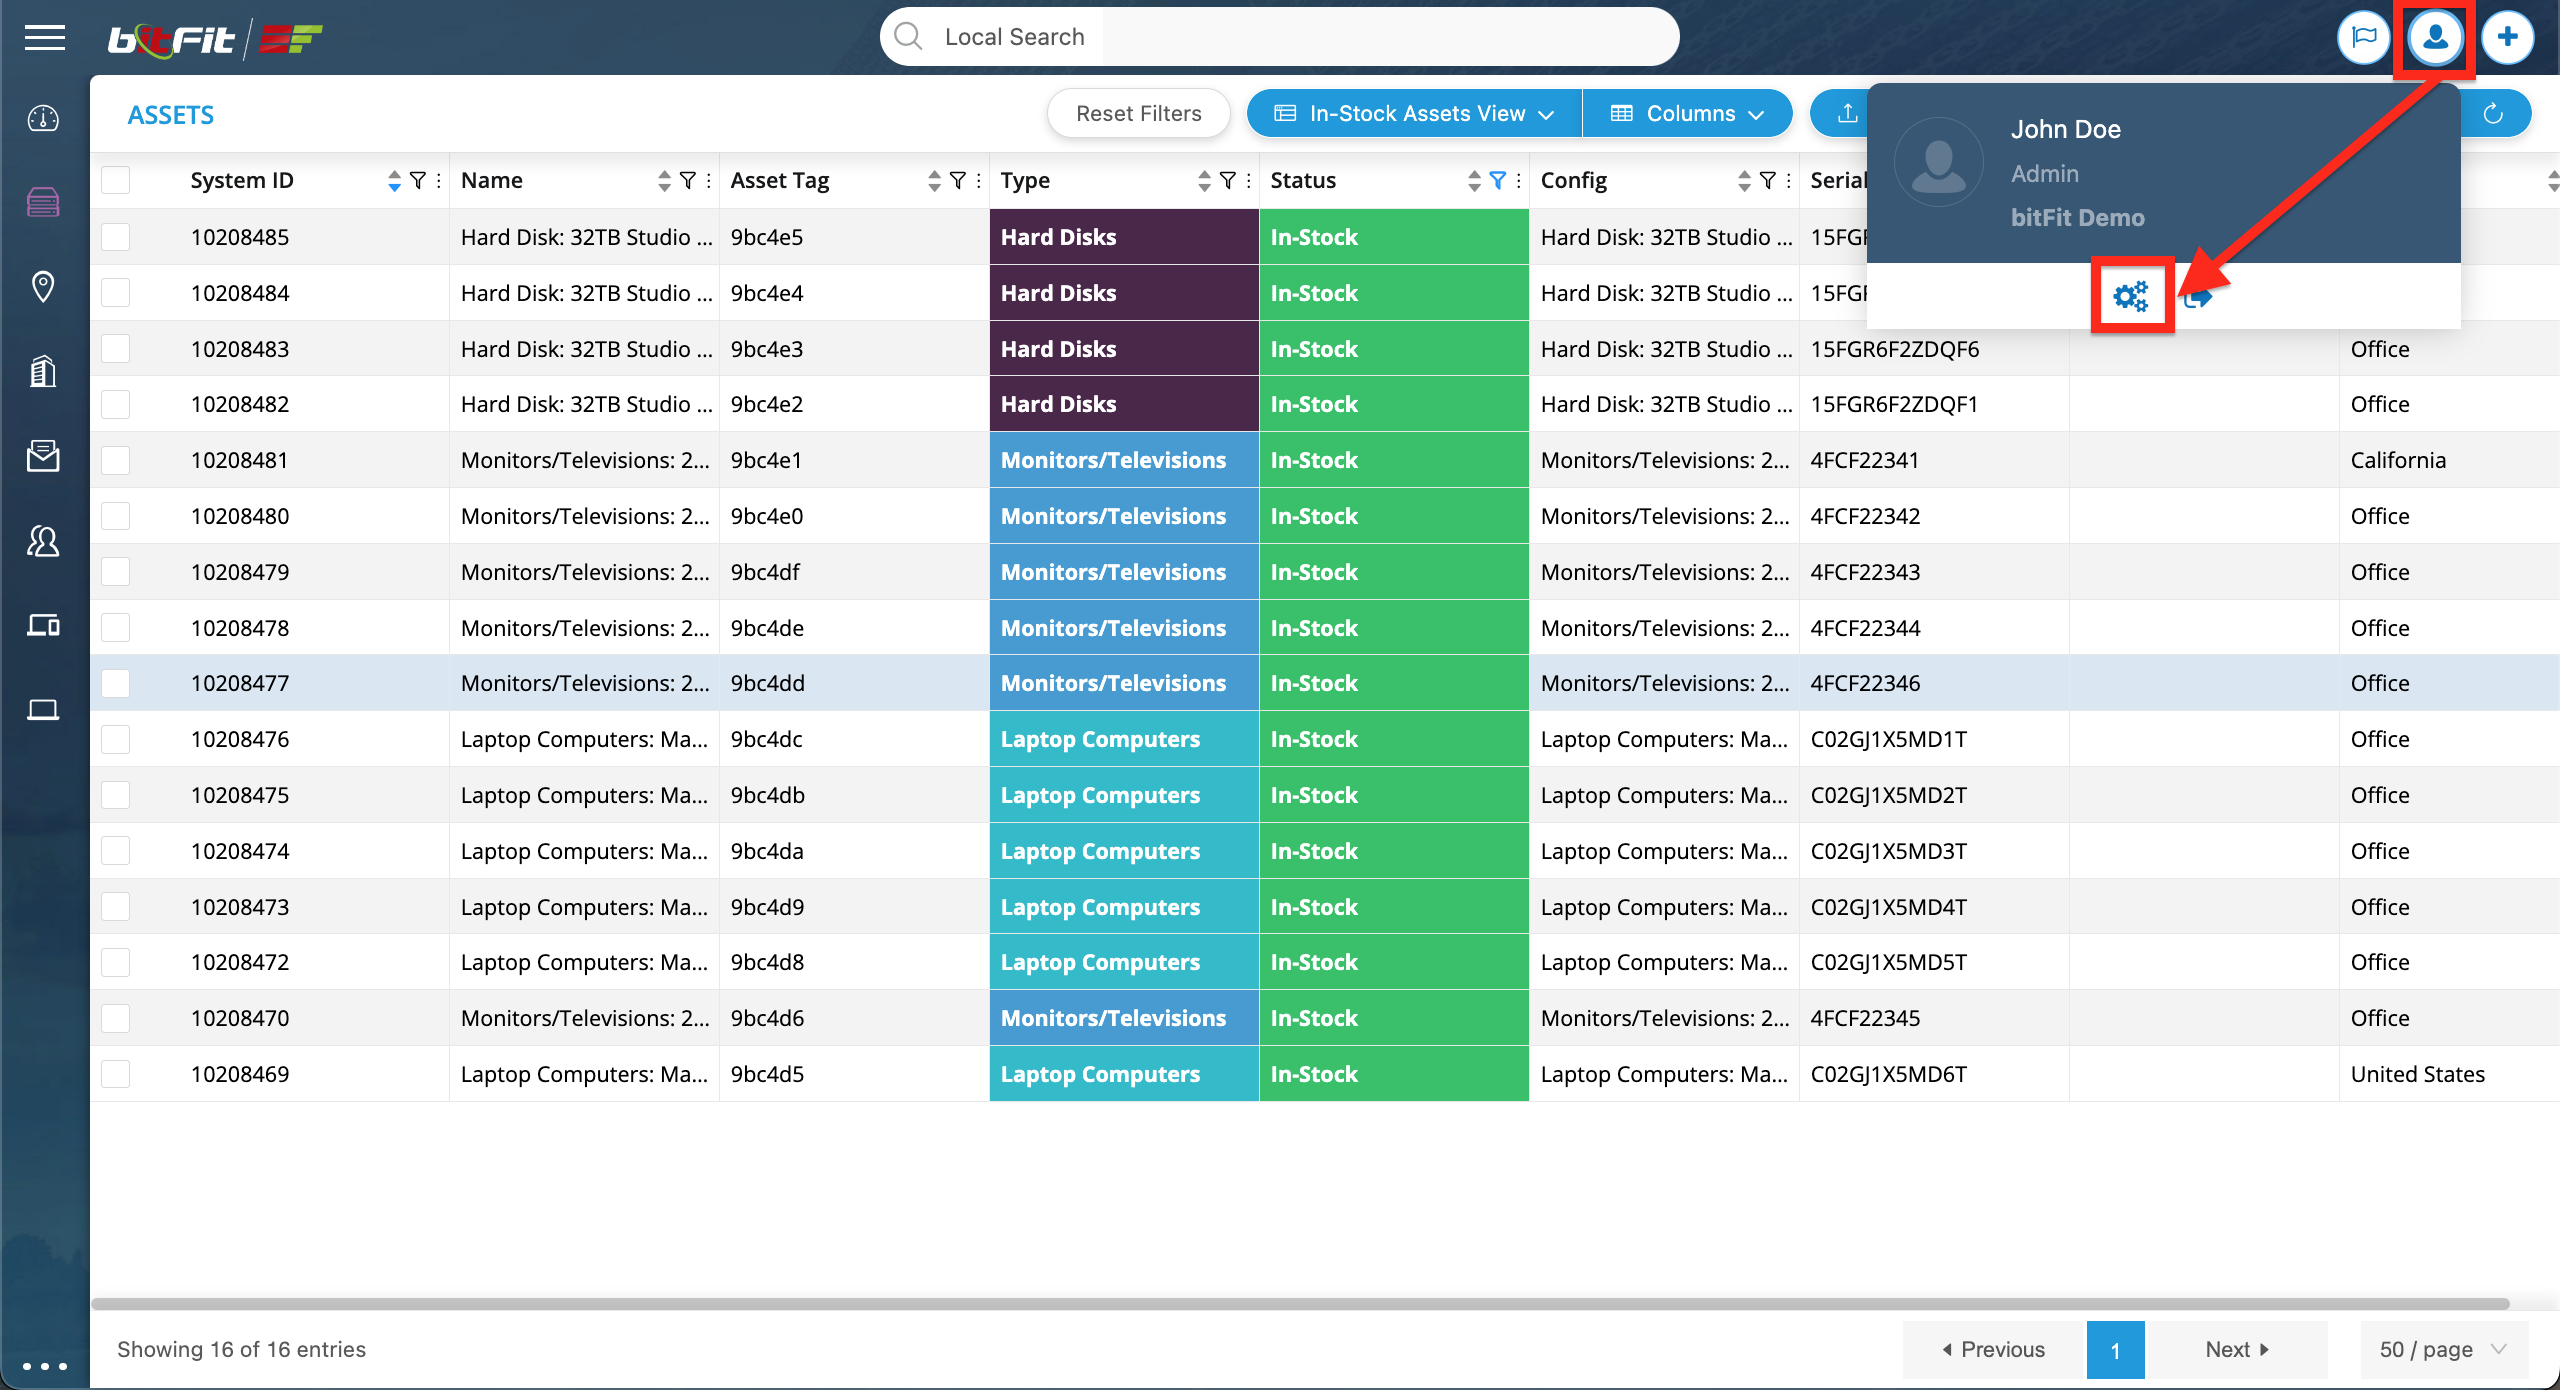
To create a new button, users should start by opening the Setup page …

… then select the page where the button should be visible …

… click the Views link, and then click the Create New button.

To begin configuring a new button, users should first select the Button View type.

Next, users need to input the button label and establish conditions for when this button should be visible, as well as add needed to update fields.

Let’s delve into the details of what we’ve set up:
Under Name, we’ve provided the text for the button.
We’ve specified that the button should be visible to all users, regardless of their roles (User, Admin, etc.). If we added Admin in the User role matches block, the button would only be visible to users with the Admin role.
We’ve set a condition that the button should only be visible if the Assigned To field is empty. Once we assign someone, the button disappears.
In the builder itself, we’ve added the Assign To field and the Status with the default value Pending. If we want all requests to have a pending status on form submission, we need to remove the option to make this field editable by checking the Read-Only checkbox.
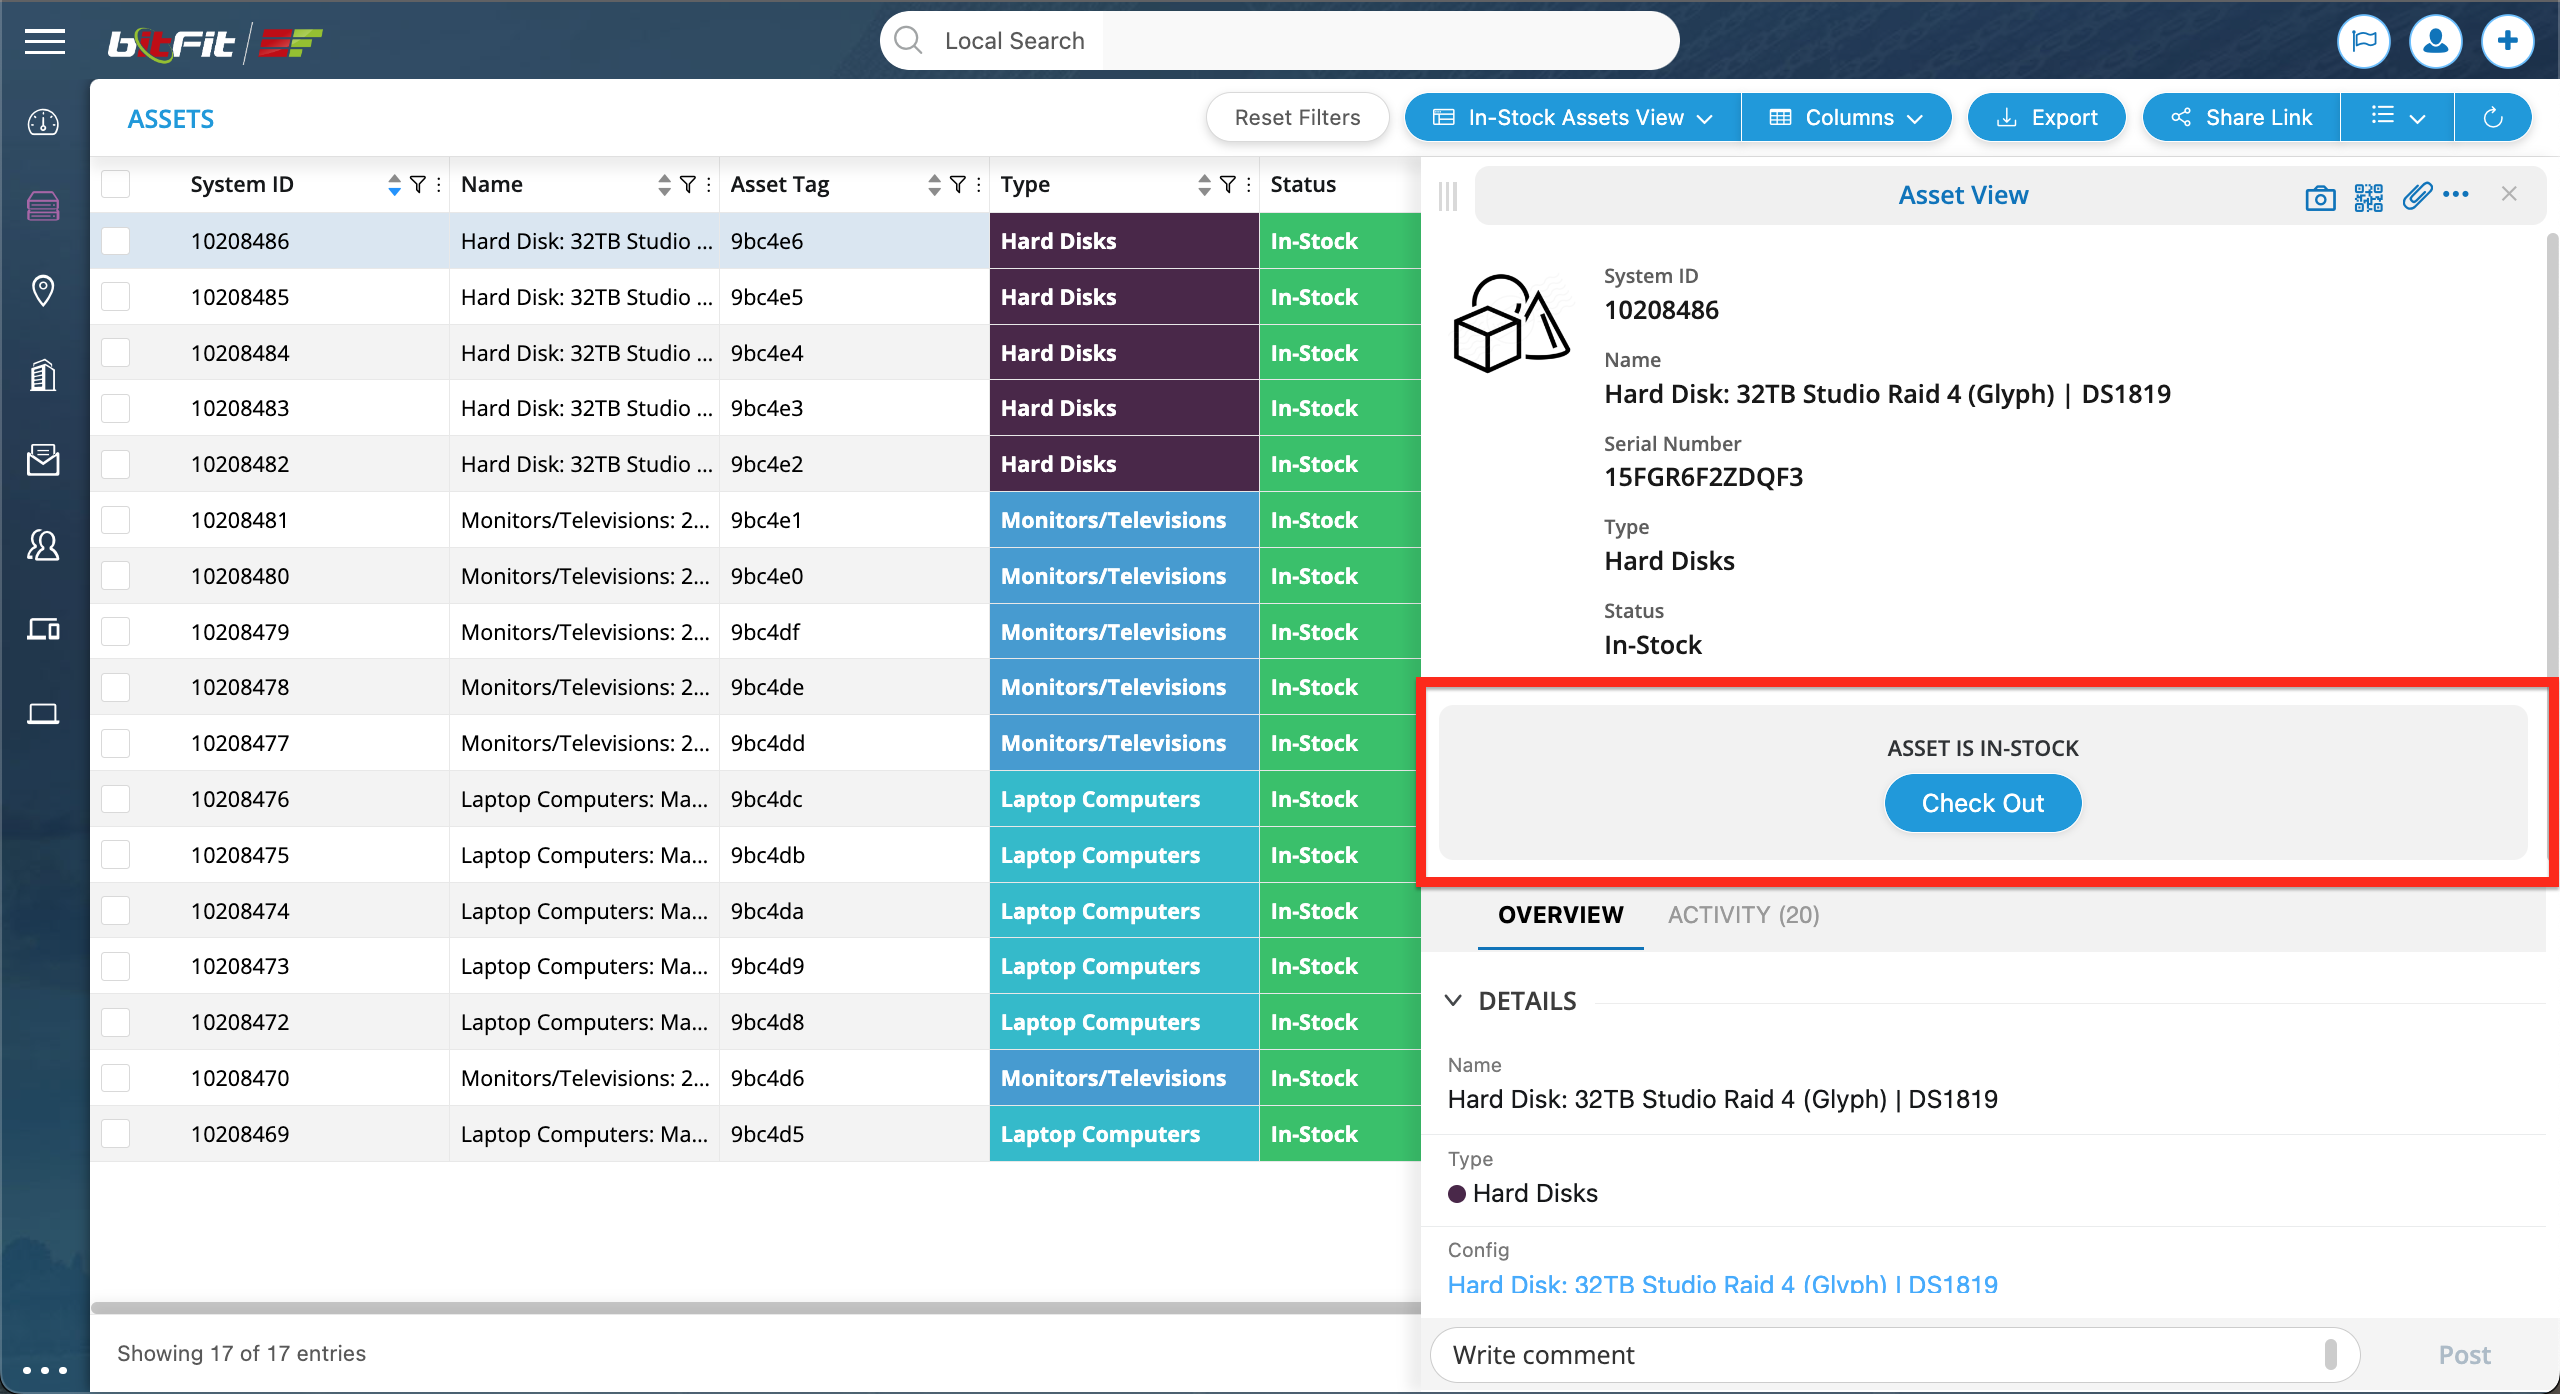
The result of the above setup:

Once the button popup form is submitted and an Assigned To user is set, the button isn’t visible anymore due to our condition.

If we need to remove a value from any field on the button’s form submission, a user needs to type in the null word as the default value.


