THE GOAL
As a demonstration of configuring an integration via Zapier, this post will guide you on sending a Slack message when a form is submitted on bitFit’s Marketplace. When the Marketplace form is submitted, the system generates a Request, which will be our designated trigger.
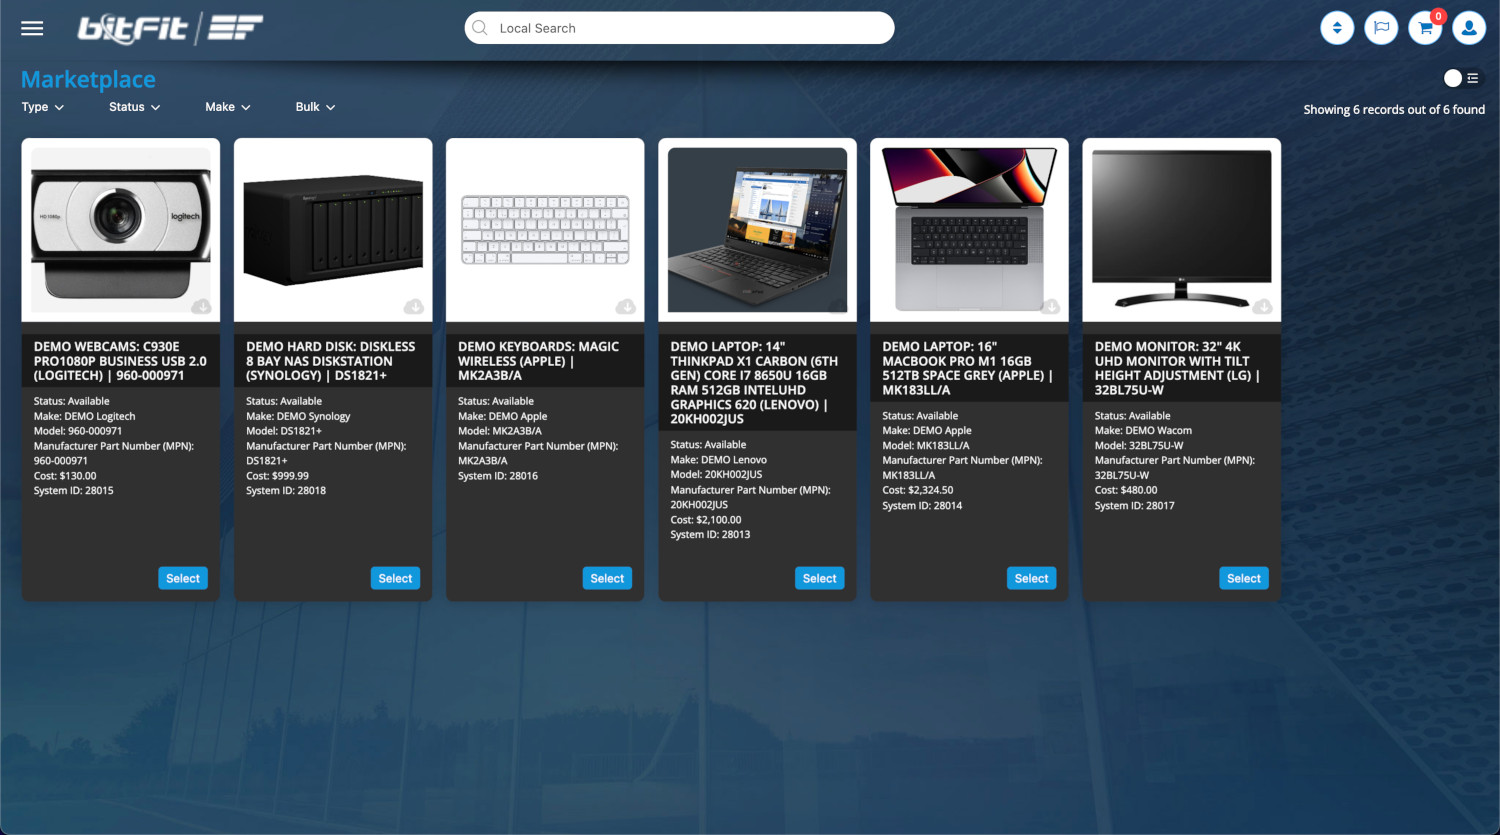
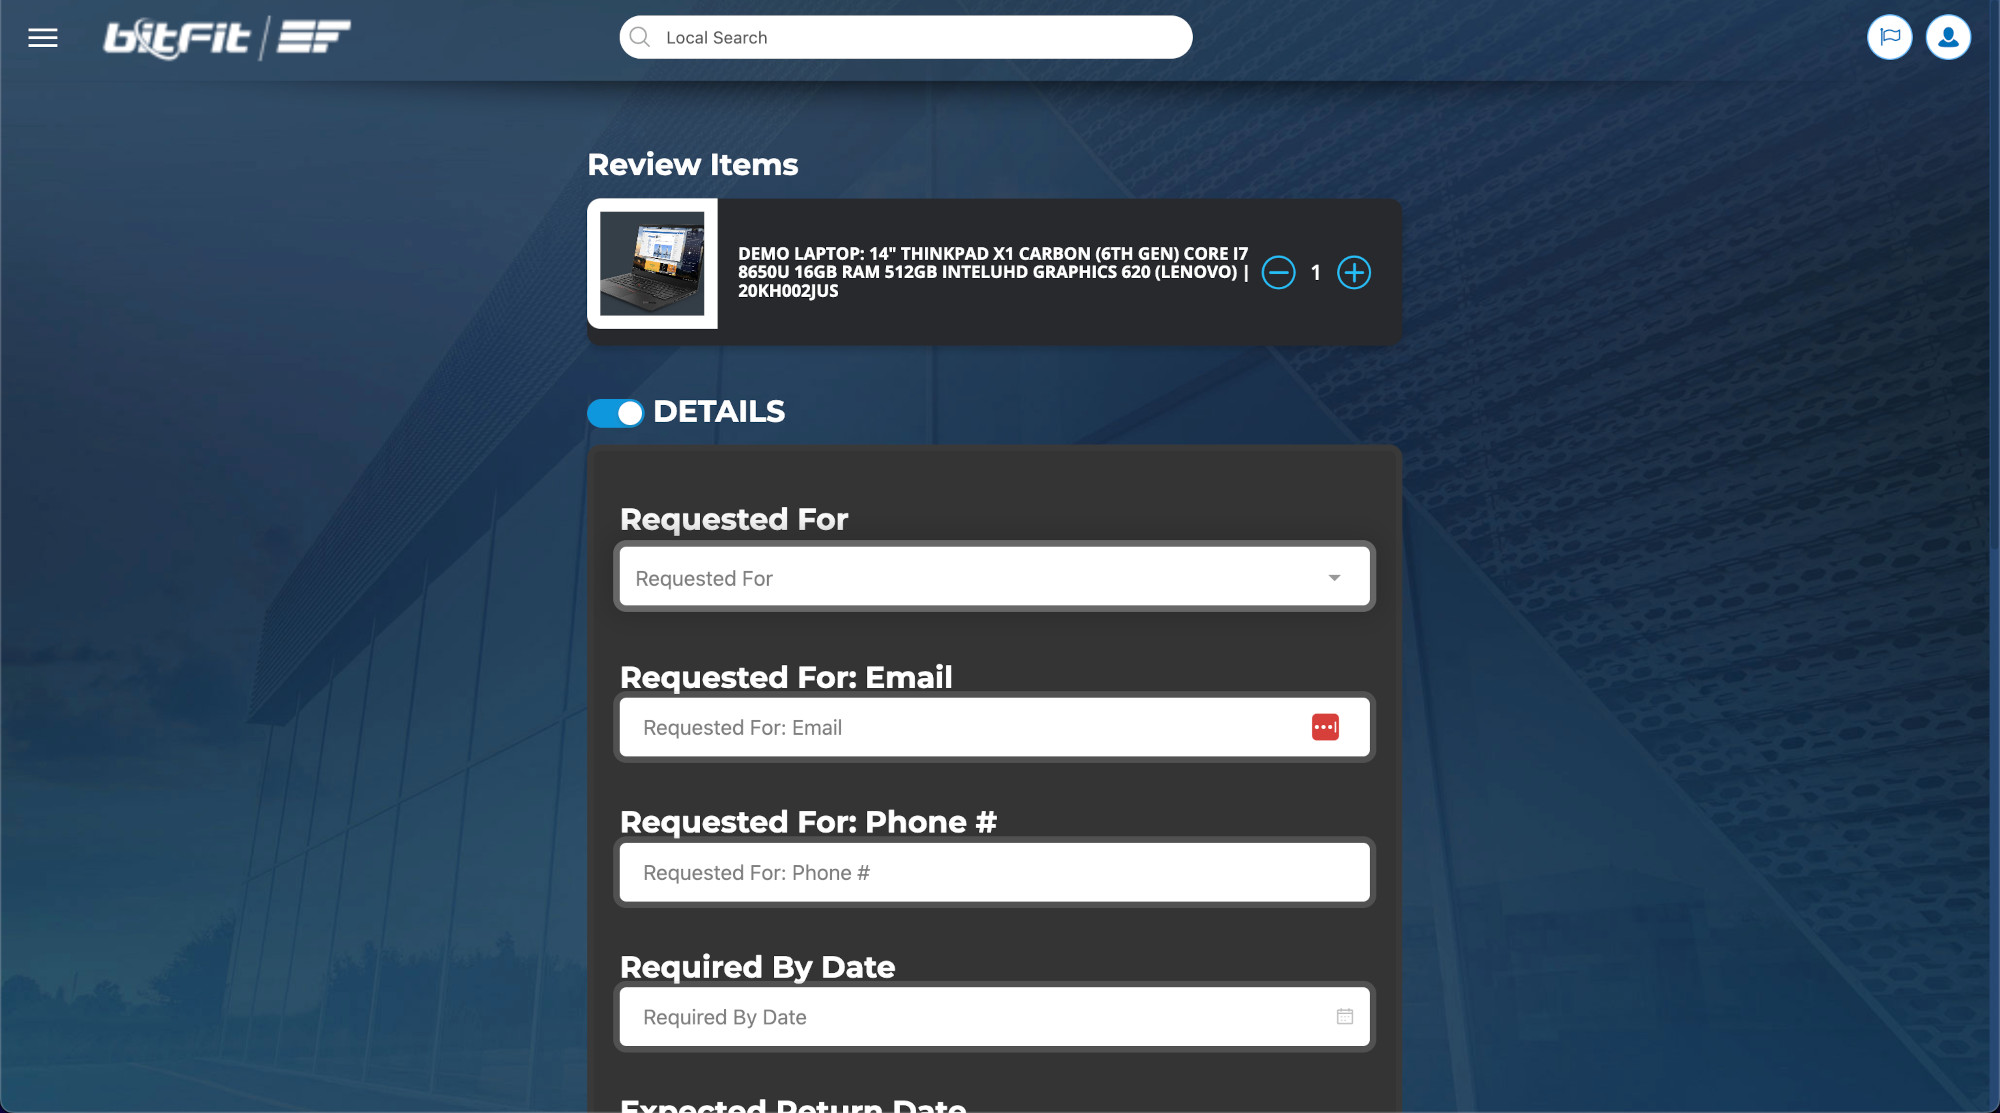
WHAT IS MARKETPLACE?
Marketplace enables Admin users to visualize a list of all approved catalog items for employees to request. At the start, the system creates a new Request (ticket) record when the Marketplace form is submitted, and then this Request (ticket) can be managed throughout its lifecycle. You can learn more here.
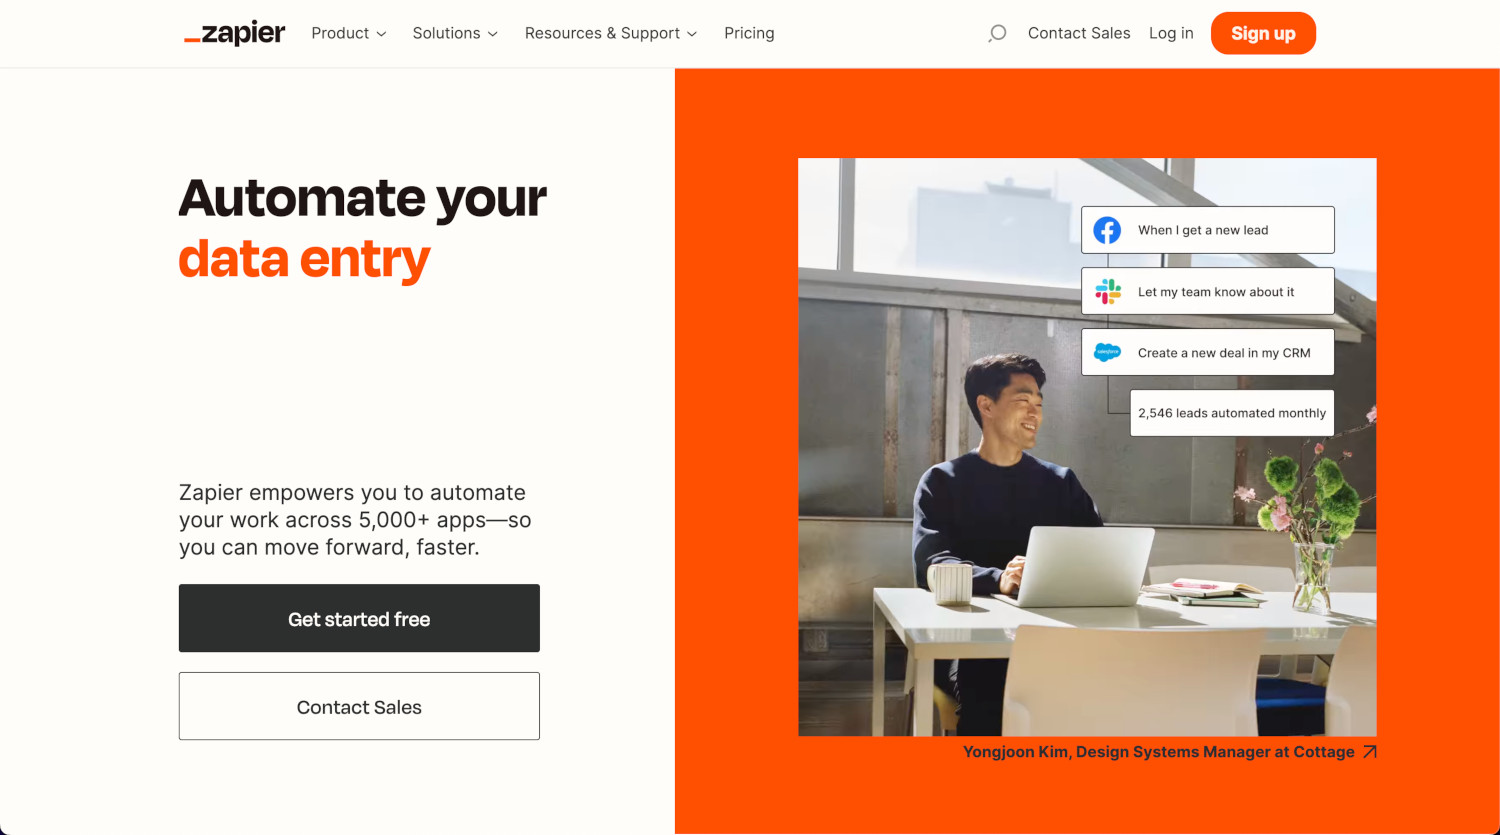
WHAT IS ZAPIER?
Zapier empowers bitFit users to automate work across 5,000+ apps. You can learn more here.
FINAL RESULT
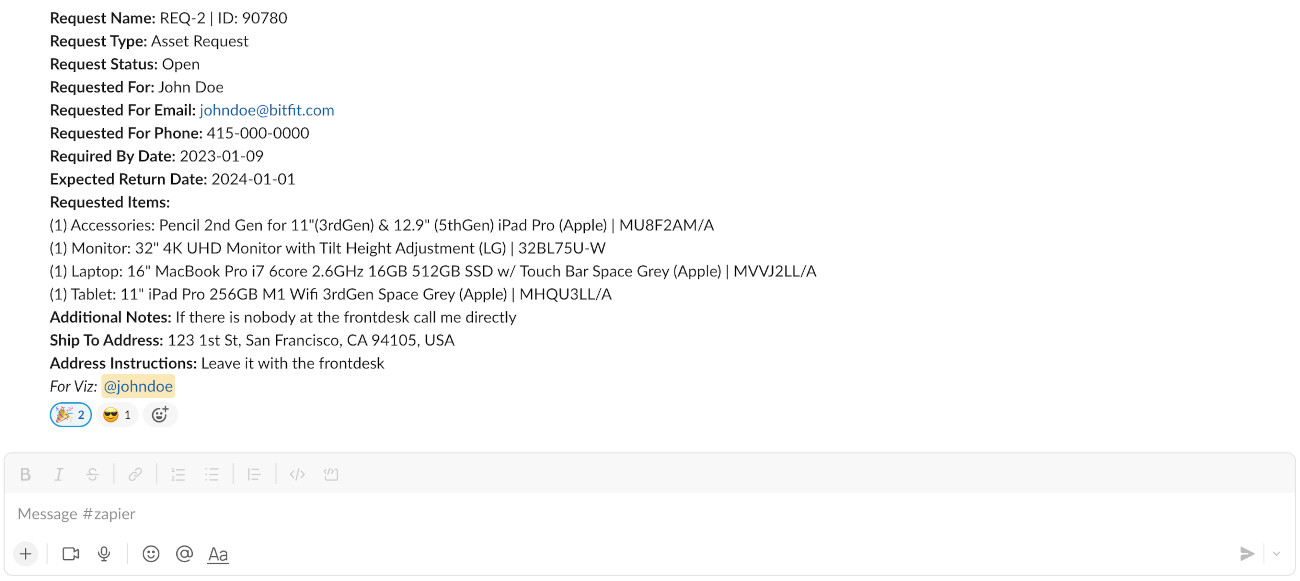
Below is the Slack message example.
ZAPIER CONFIGURATION
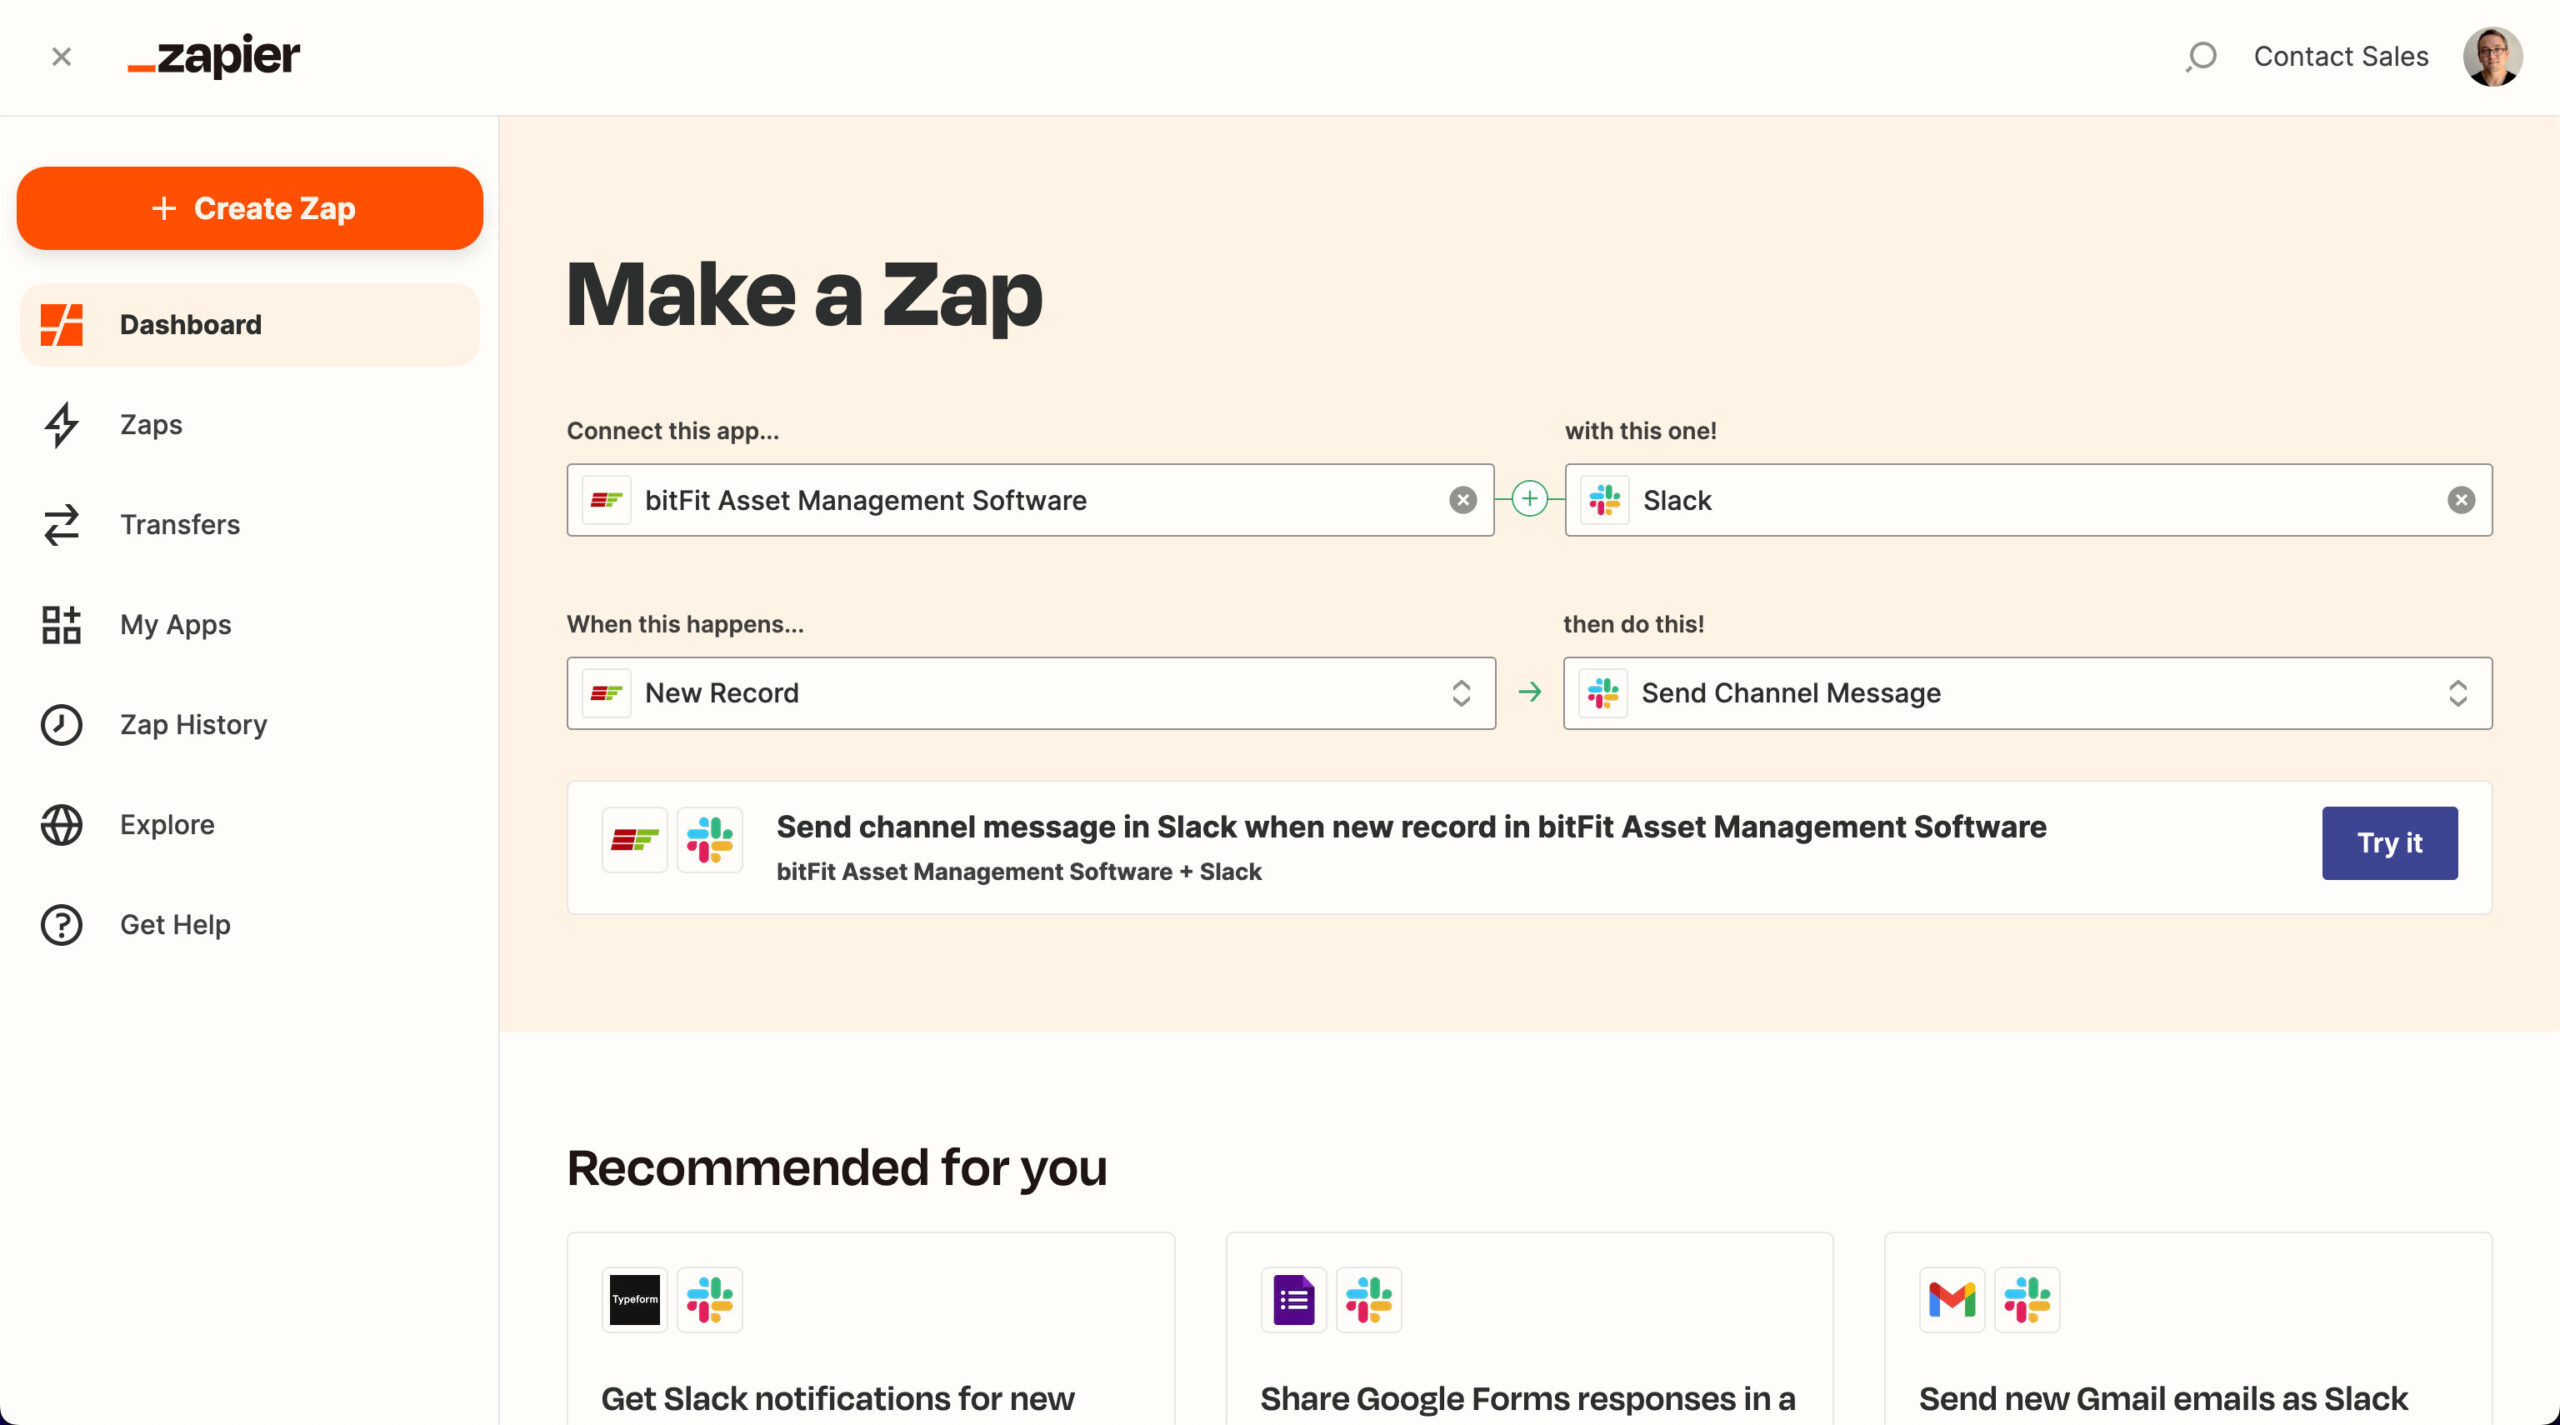
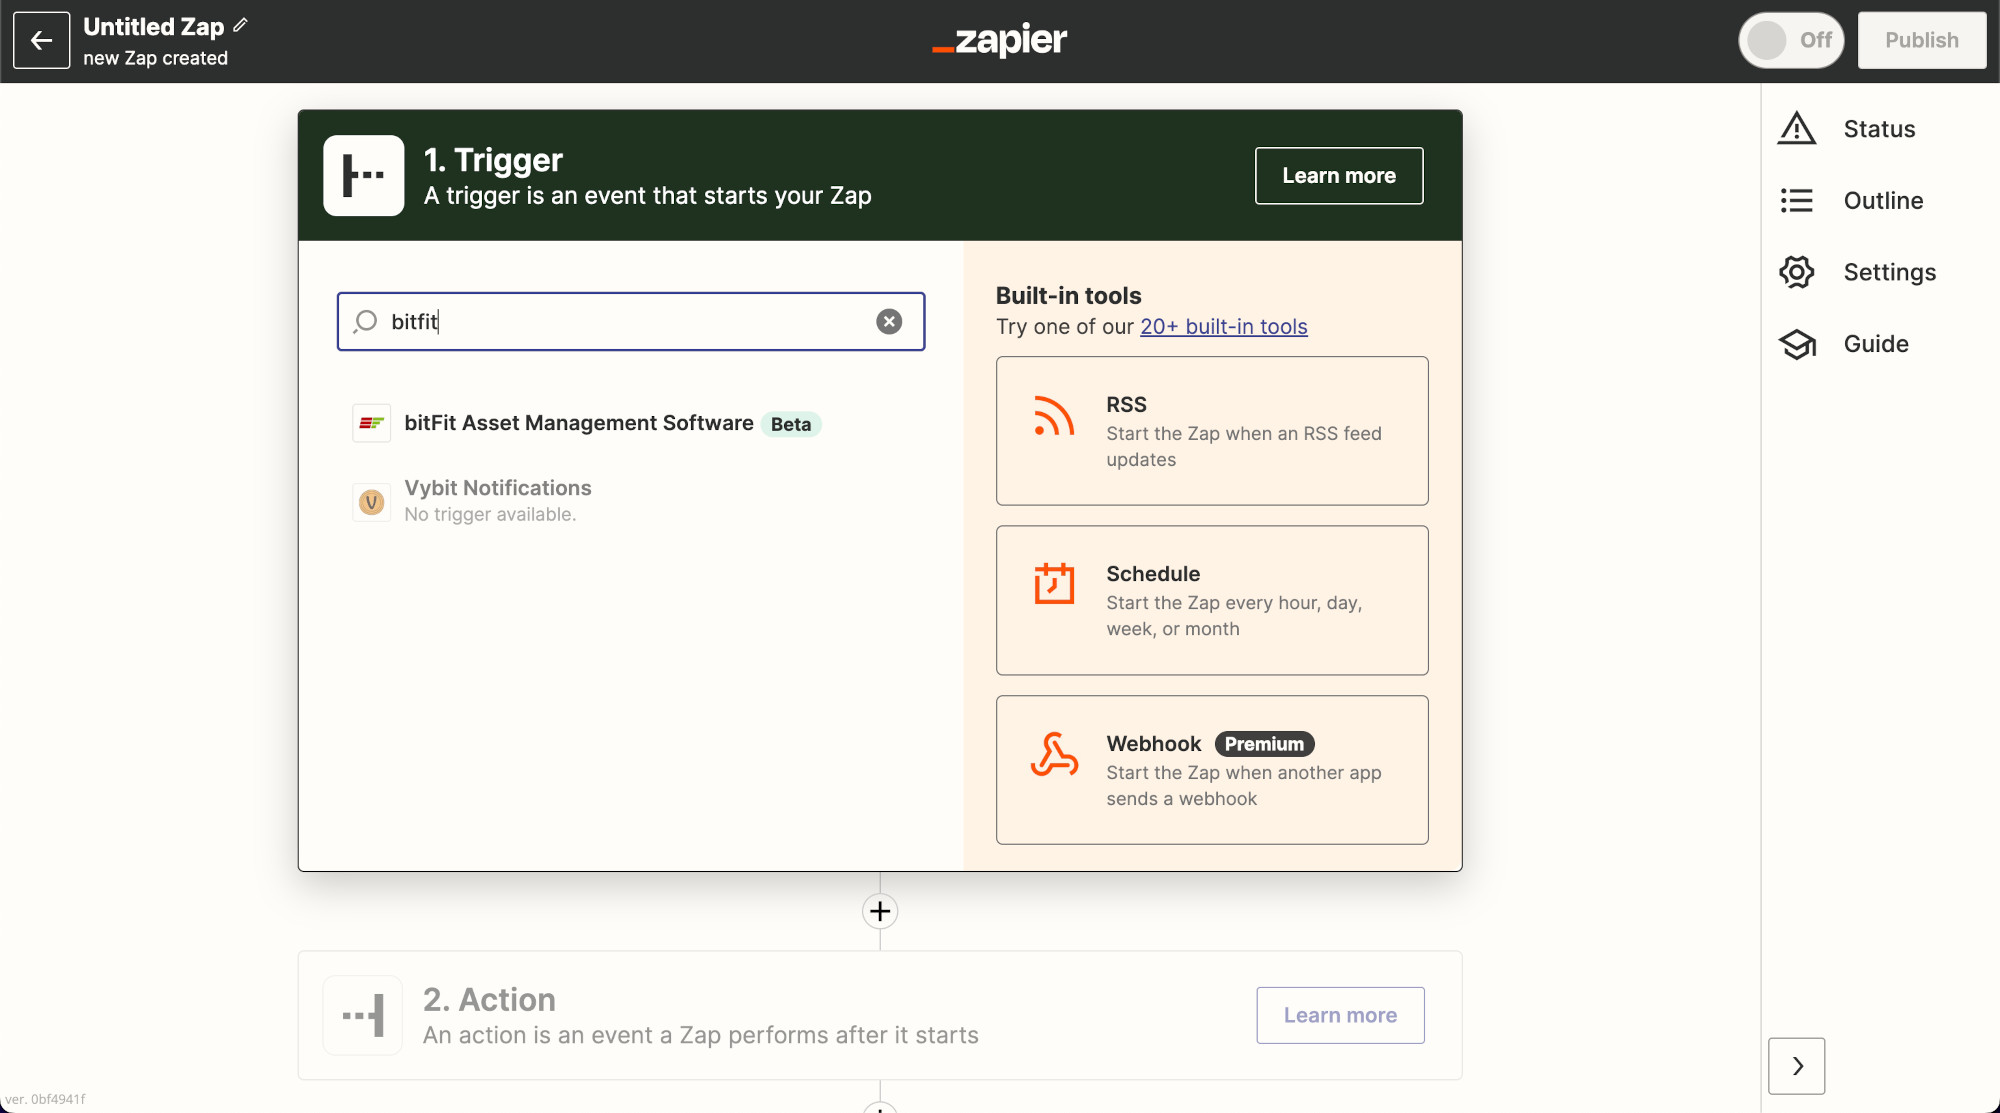
First, click Add New Zap and find the bitFit app.
Then choose the New Record event and click Continue.
Authenticate your bitFit account in Zapier by providing four values:
- User email
- User password
- Account’s Client ID – can be found here
- Account’s Client Secret – can be found here
We recommend creating a new user in the system with the first name “Zapier” and last name “Integration” or something similar. This way, you can easily identify all system changes made by Zapier integrations. Additionally, it makes it simpler to manage permissions and control Zapier’s access to specific data.
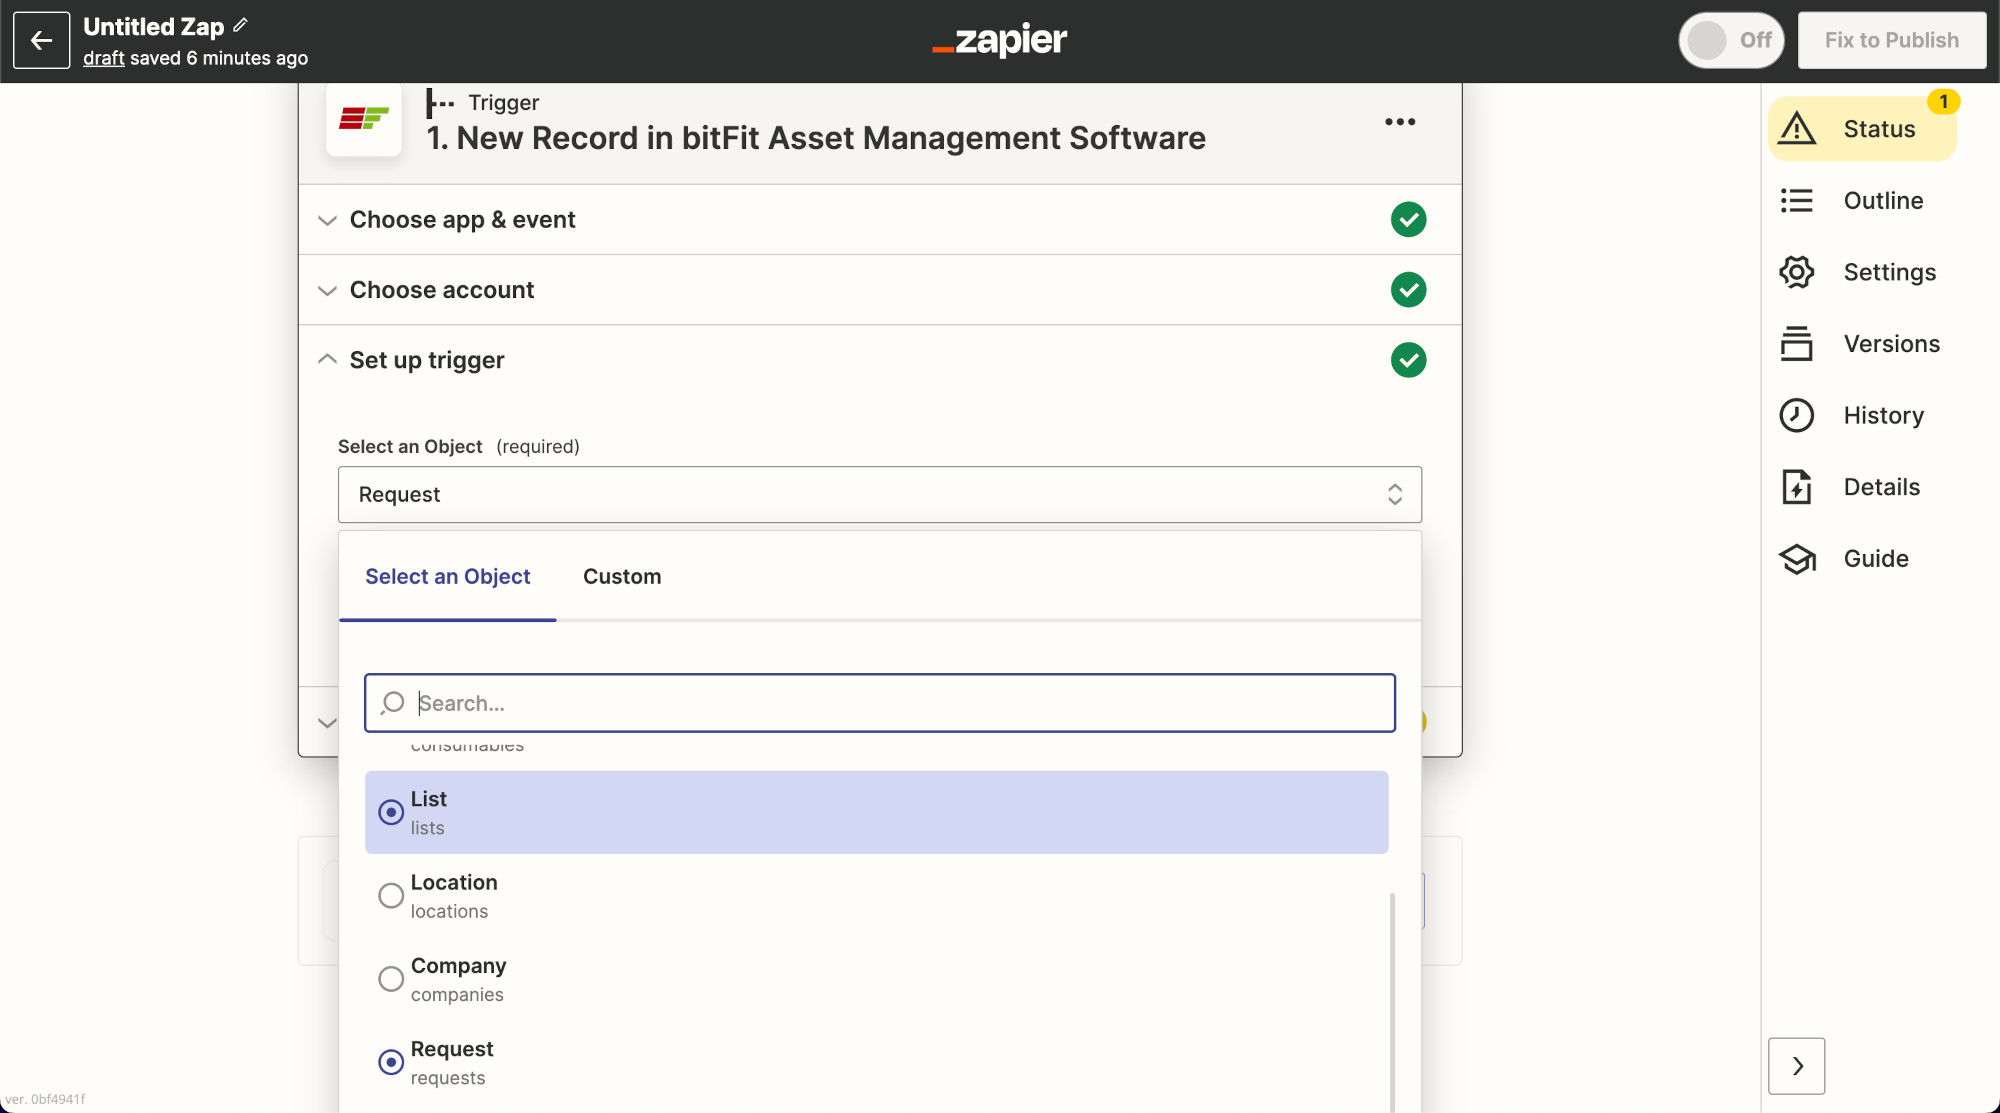
In the Set up trigger block, choose the Request object. This informs the system that when a new Request is created in bitFit, a specific action should follow. If our goal is to focus on a new Asset creation, we would select the Asset object here. However, since Marketplace generates a Request, we work with the Request object at this step. Click Continue.
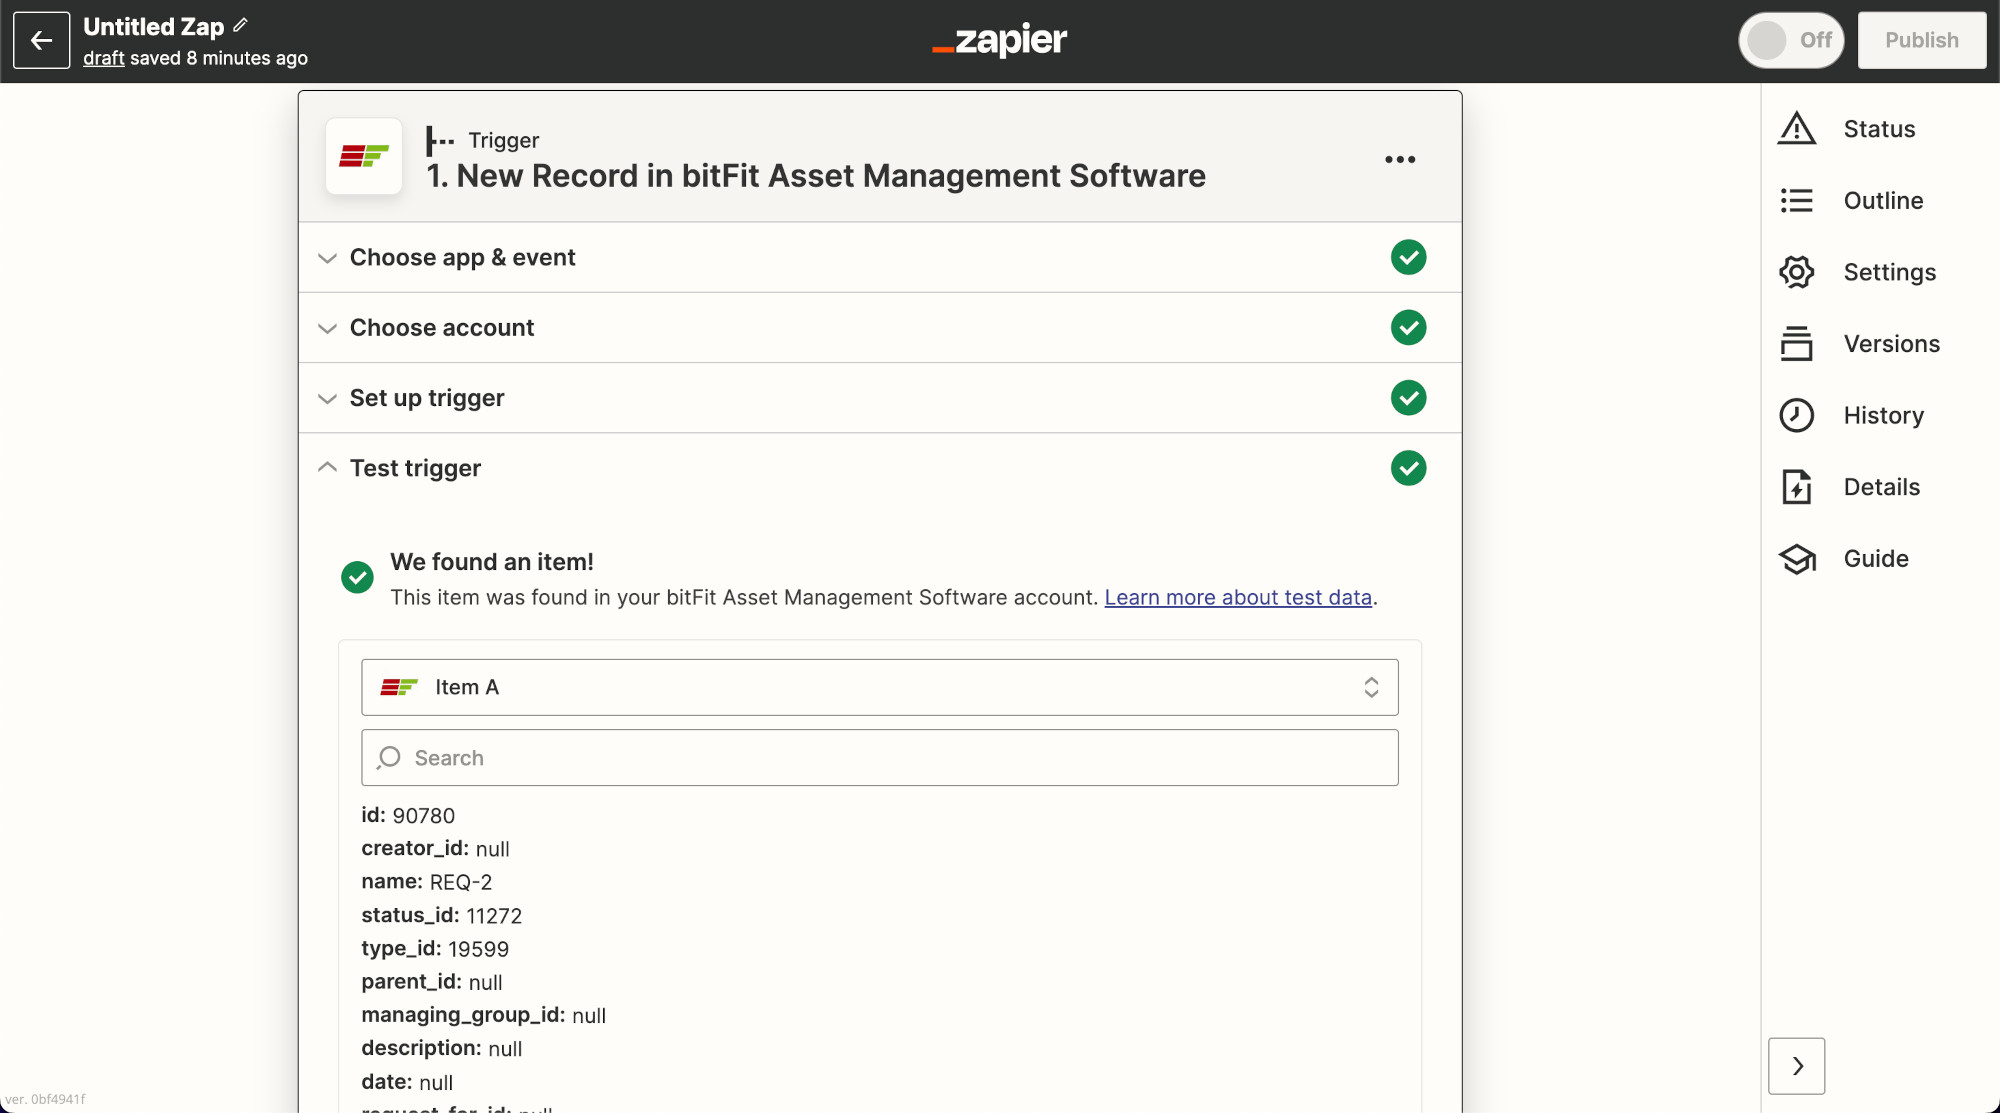
The final step will prompt you to test the setup. Click the test button, and it should locate the most recent Request in your bitFit account. If you don’t have any Requests, please submit the bitFit Marketplace Form to create one. You should receive a result similar to this:
Now, let’s configure Slack. Start by locating Slack and authenticating your Slack account. Then, for the Event, select the Send Channel Message option.
Once Slack is connected, you’ll encounter several options. The initial choice involves selecting the Slack Channel to which it should dispatch messages. Following that, pick the Slack Channel where you want to receive messages for each Marketplace form submission.
In the Message Text section, construct the content of the message.
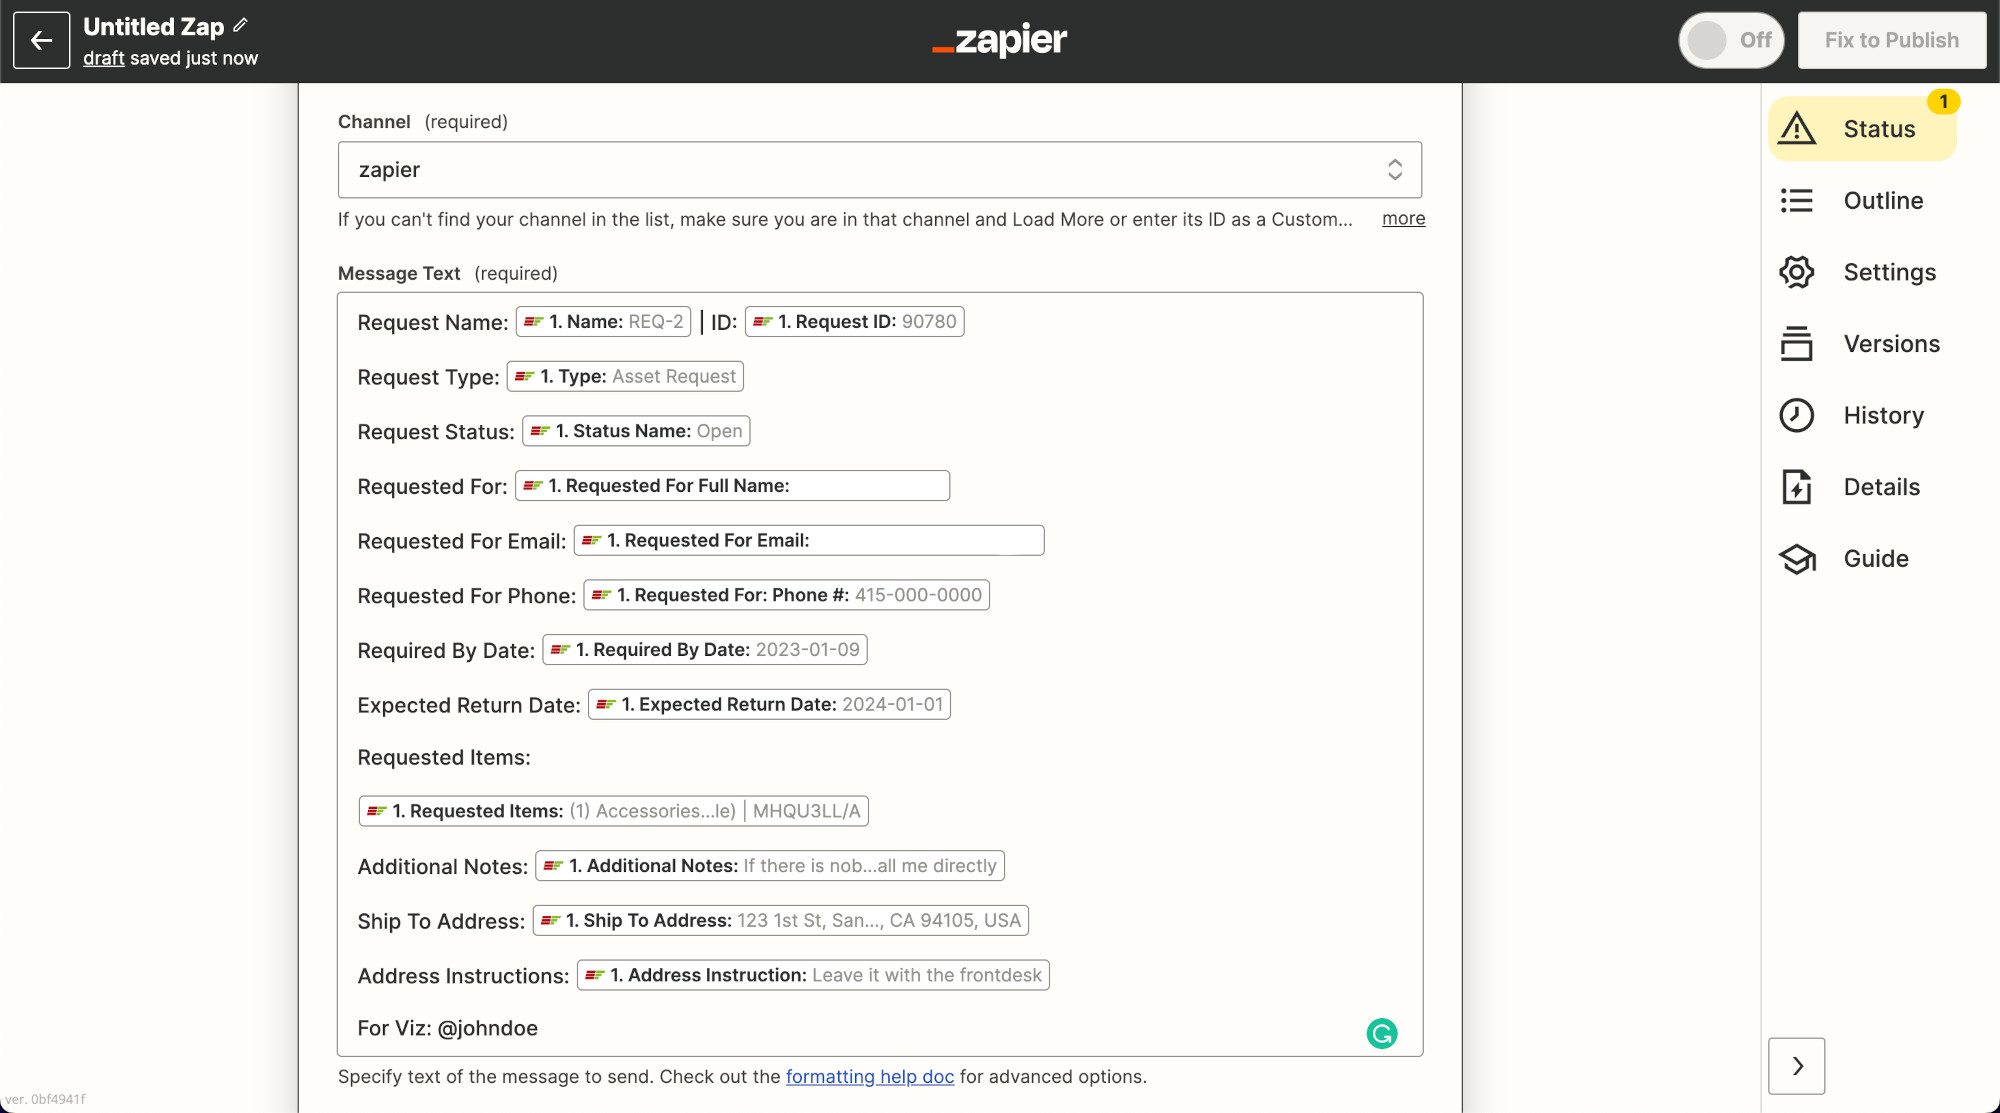
Here is the template to make things faster:
Request Name:  | ID:
Request Type:
Request Status:
Requested For:
Requested For Email:
Requested For Phone:
Required By Date:
Expected Return Date:
Requested Items:

Additional Notes:
Ship To Address:
Address Instructions:
For Viz: @johndoe
If you need to mention someone, you can use the format @johndoe directly in the message body, and Slack will alert the mentioned user.
We won’t go over every single option, but I want to highlight one more field on that page: the Attach Image by URL field. If you need to include an image with your message, you can enter the image URL in this field. It also supports dynamic values from the Request record.
That’s all. Perform a test run and activate the Zap if everything appears correct.
