What is bitFit Setup?
The bitFit Setup section allows Admin users to manage spreadsheet views, detail card views, user roles, custom pages, subscriptions, profiles, and organization details. This is also where they can find the API documentation page.
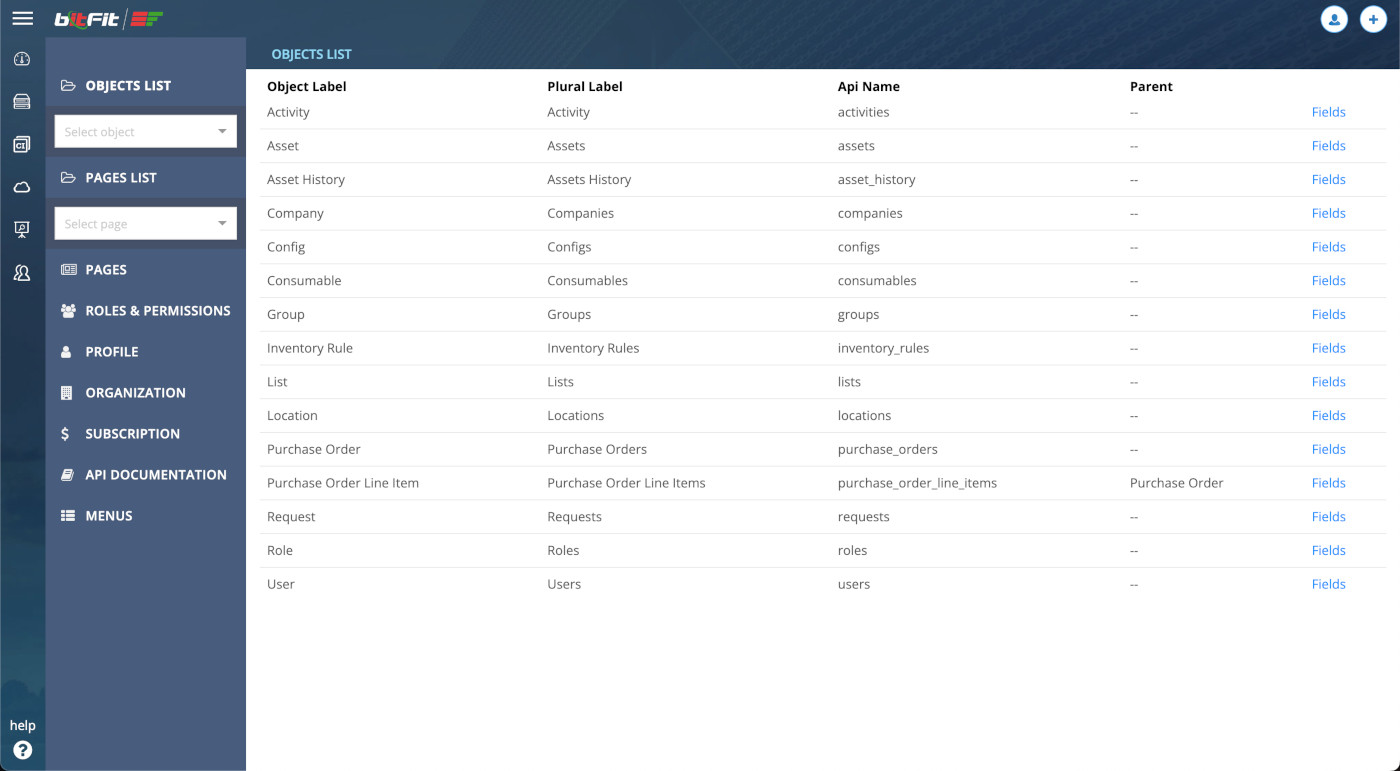
You can access the bitFit Setup by clicking the gear icon in the top right corner or by visiting this URL: https://assets.bitfit.com/setup.
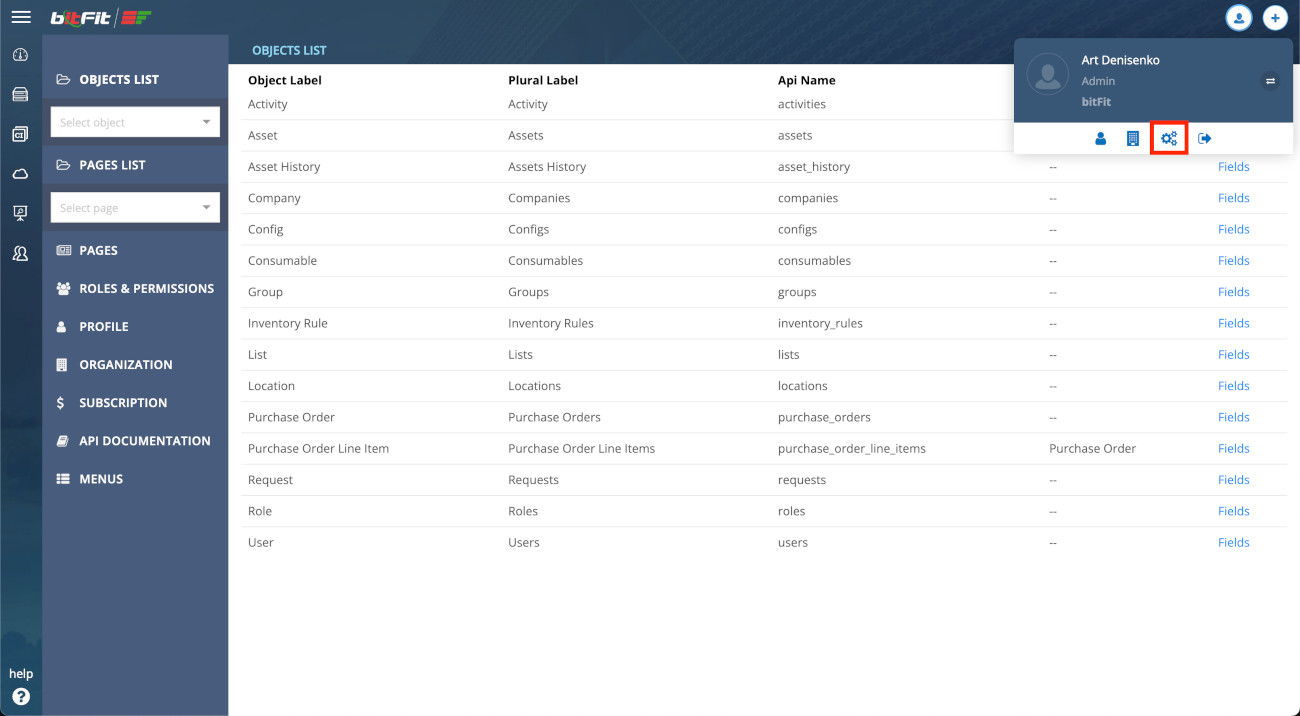
Objects List
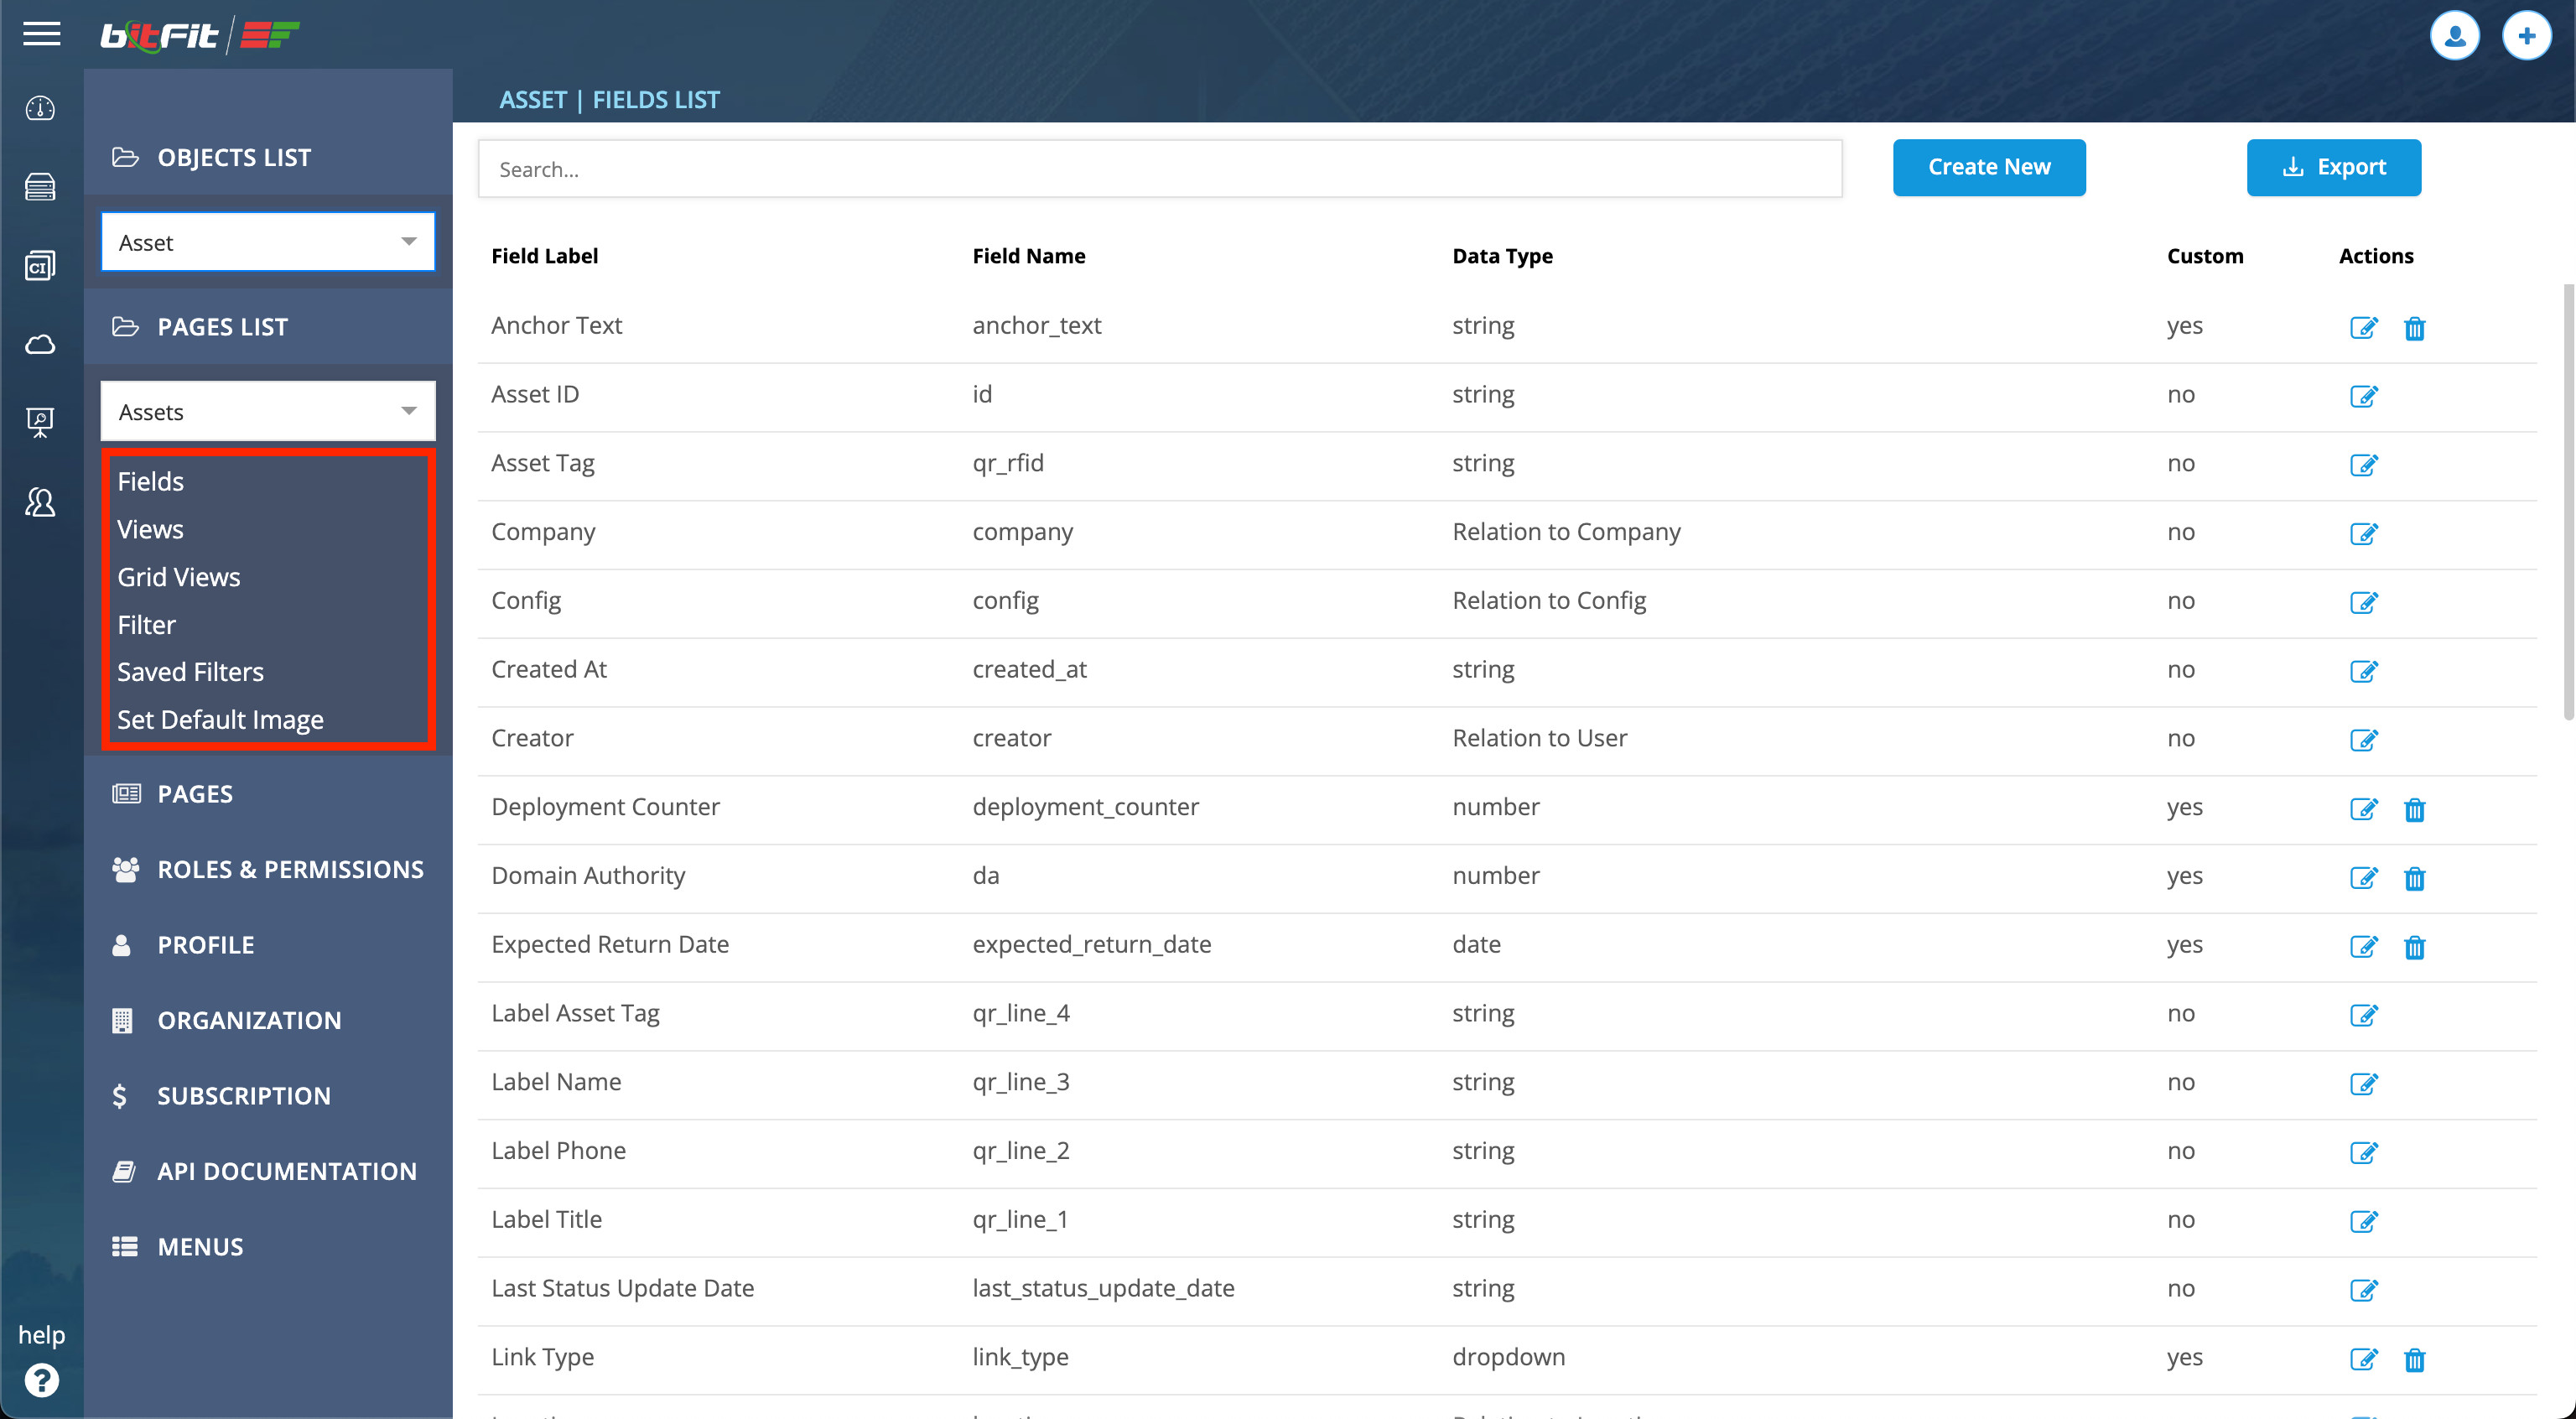
The Objects List section provides access to all objects in the system, including assets, consumables, configs (catalogs), companies (make), users, groups, and others. Selecting an object from the list provides access to its views (spreadsheet and detail card), all fields, and the ability to designate which fields should be searchable. You can learn more about the search function here. Additionally, you can set a default image to be used in the UI for each record if no image has been set.
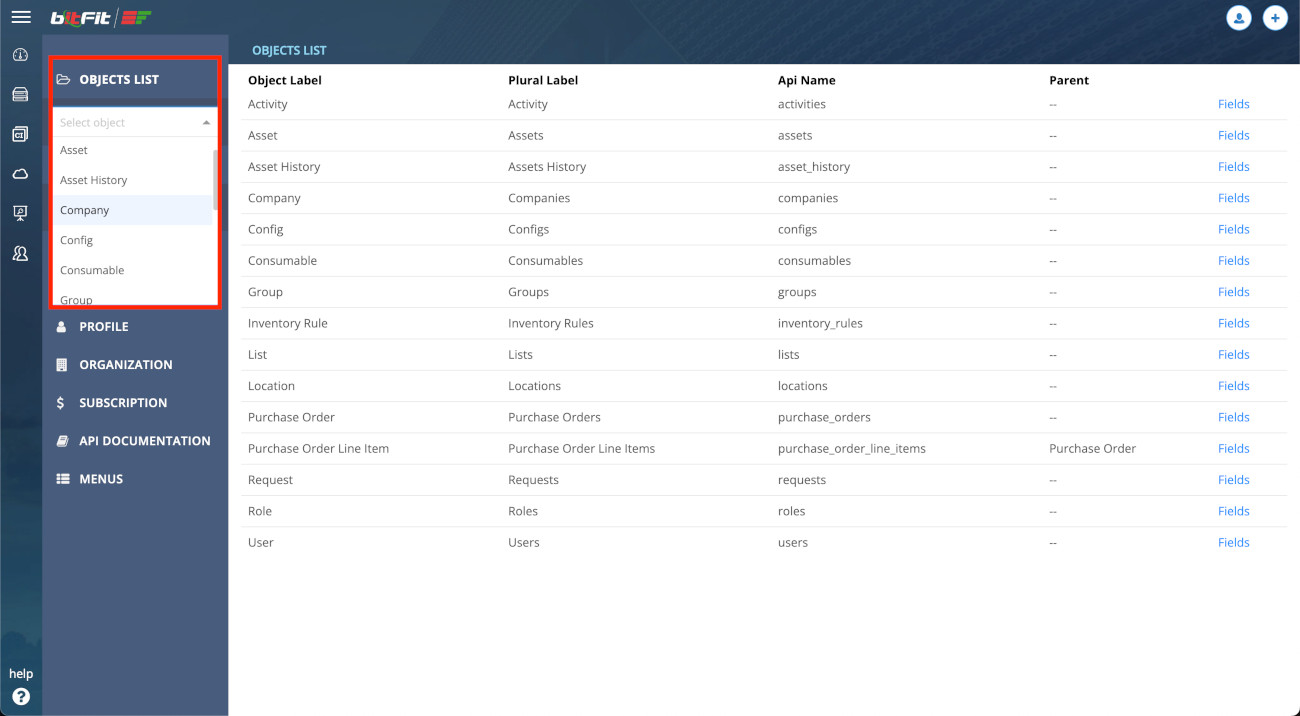
Pages List
In bitFit, users can create multiple pages for the same object. For example, a user might create one page for assets labeled “Electronics” and another page labeled “Furniture.” This allows for adding multiple menu links and filtering specific assets within the same object category. The Pages List is particularly useful here because, unlike the Objects List, it displays all available pages, not just objects.
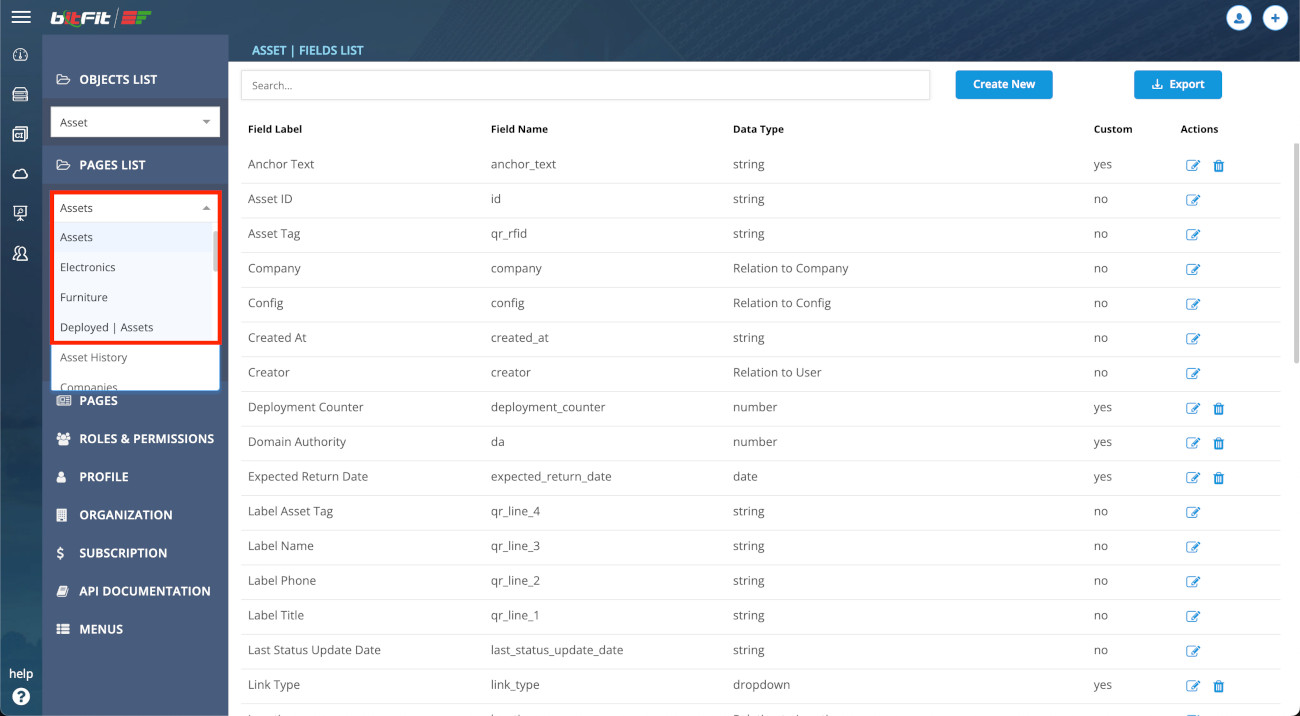
Object Fields
Each object has its own list of fields. There are system fields, which cannot be deleted, and custom fields, which users can modify or remove entirely if they are not needed.
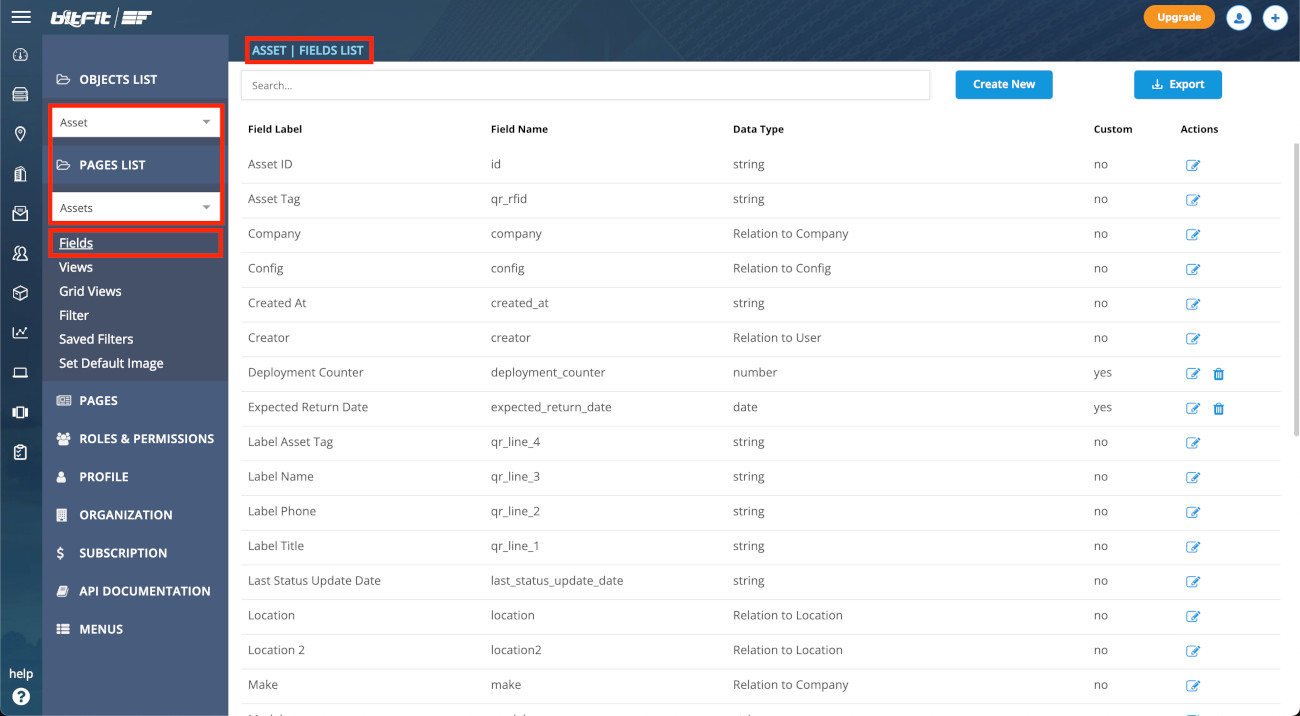
How to Add a New Field
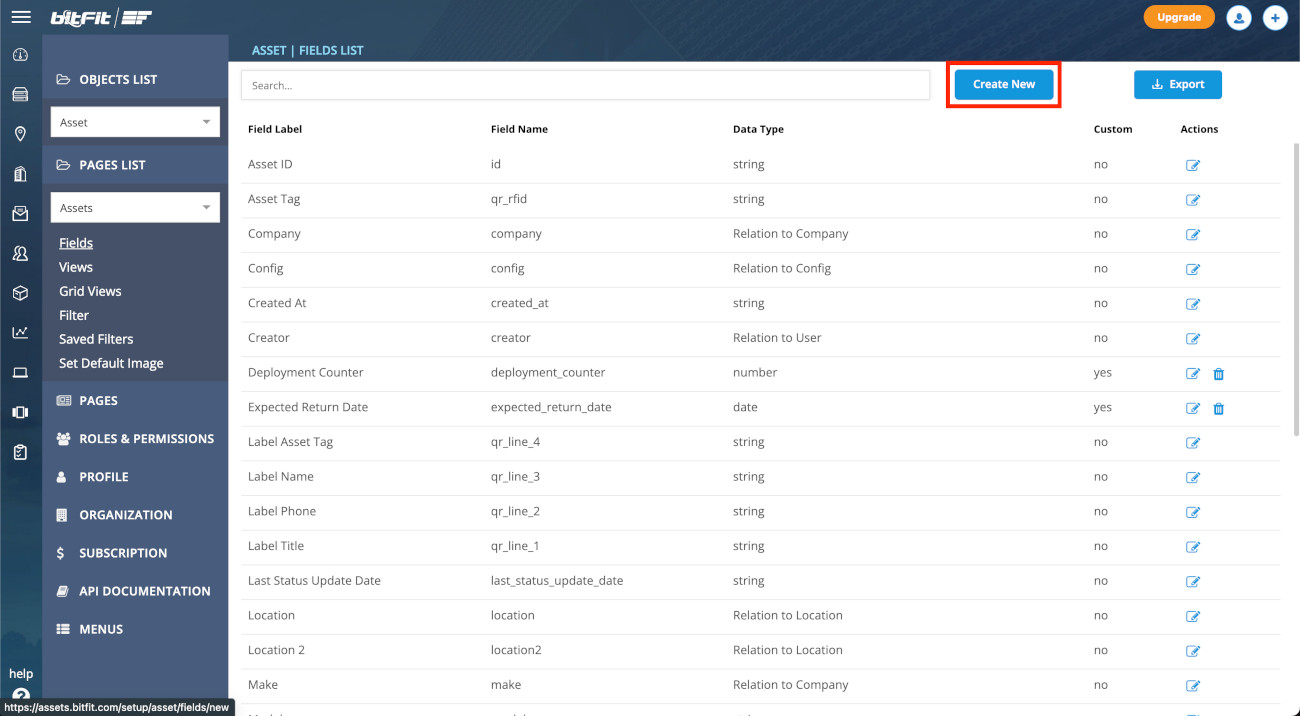
To add a new field, a user must first open the Setup page, select the Object to which the new field should be added, click on the “Fields” link, and then click the “Create New” button.
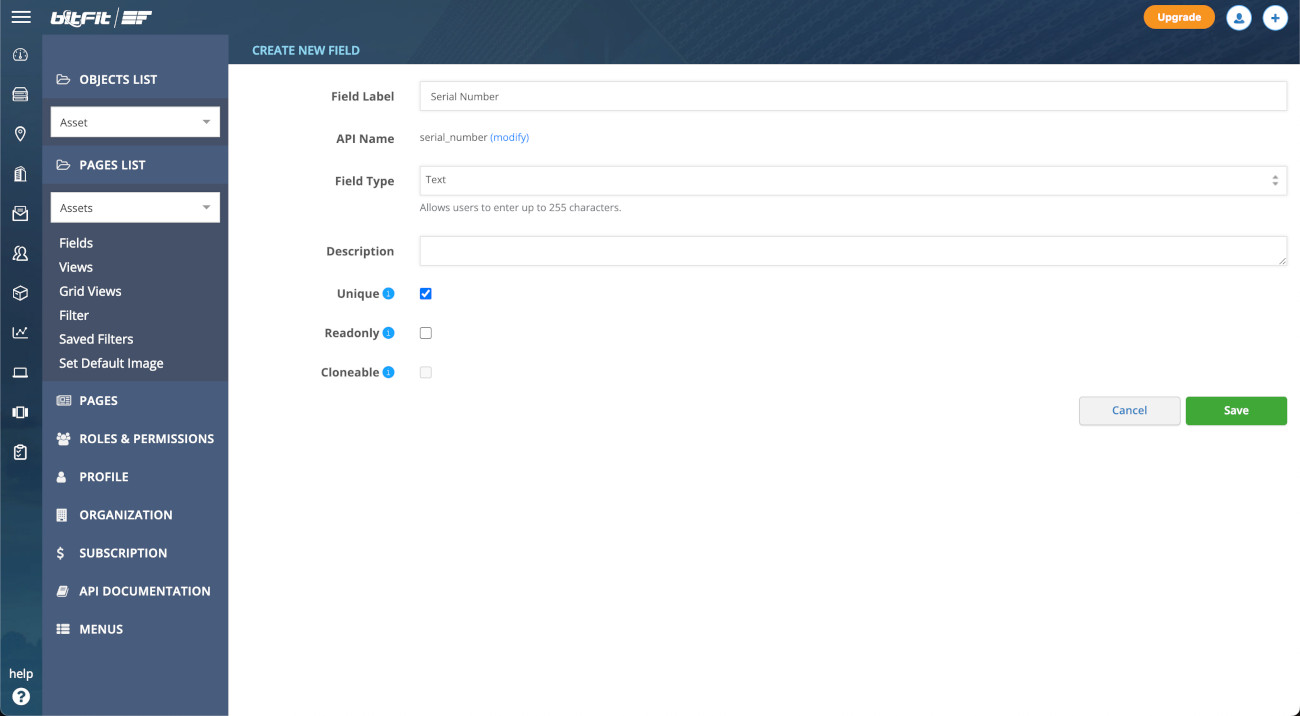
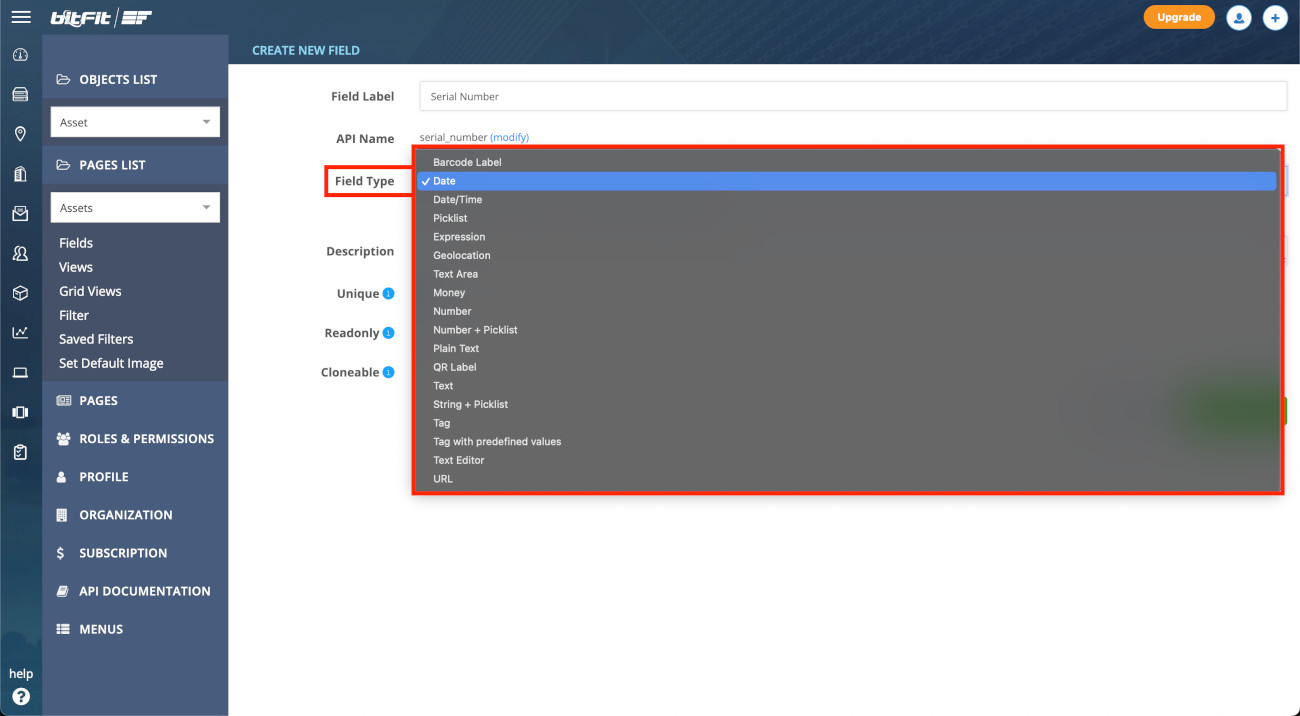
Once the “Add New Field” page is open, a user can find all the necessary elements to create a new field, such as:
- Field Label: The name displayed for the field.
- API Name: The identifier used for the field when working with bitFit’s REST API.
- Field Type: The format of the new field, such as regular text, dropdown, rich text, date/time, and others.
- Description: Notes or details specific to the field.
- Unique: Ensures that the field’s values are unique across all entries. For example, using this for a serial number field guarantees no duplicate serial numbers within the system.
- Read-only: Makes the field non-editable for users.
- Cloneable: Allows the value in the field to be copied when using the clone item feature.
Supported field types include: QR or Barcode Labels, Date, Date+Time, Dropdown (picklist), Geolocation (Google Maps API), Large Text (Text Area), Text, Currency (Money), Number, Number and Picklist Combo, Text and Picklist Combo, Tags, Tags with Predefined Values, URL, and Text Editor (Rich Text).
Object Views
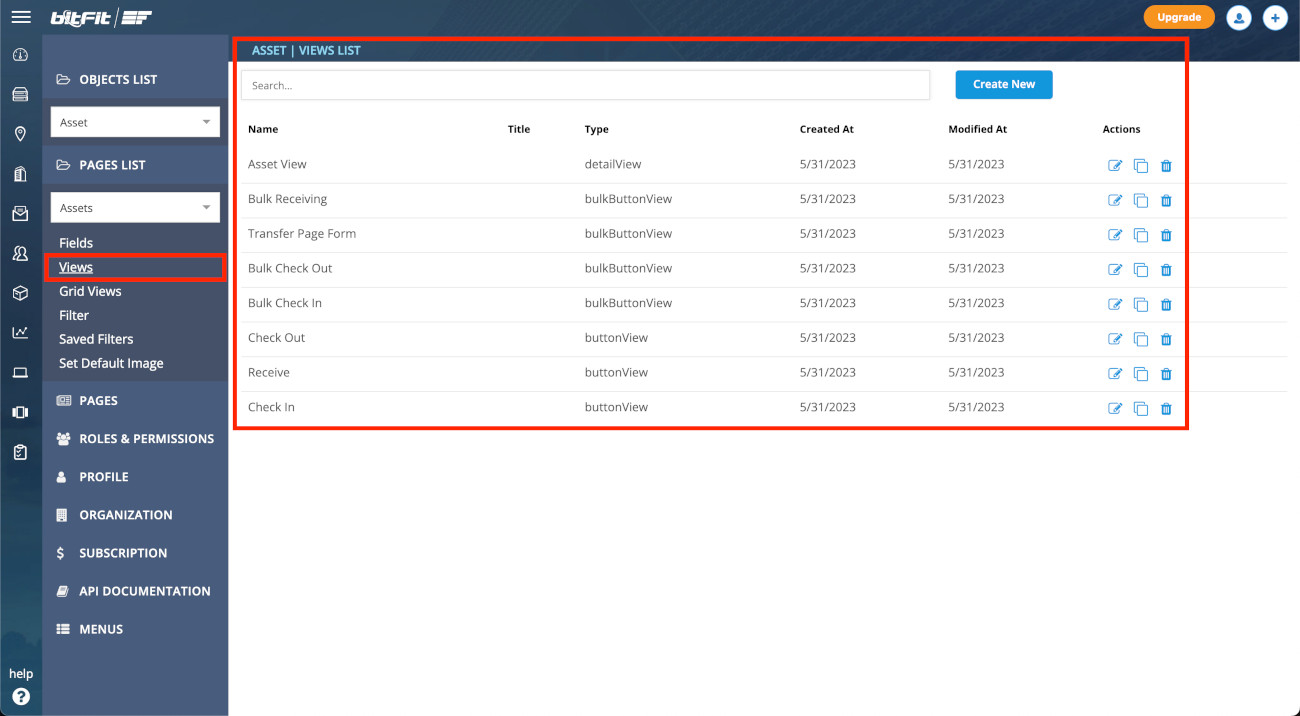
The Views link provides access to all Detail Card views, Button views, and Bulk Pages submission form builder, such as Bulk Check Out or Bulk Transfer.
Object Grid Views
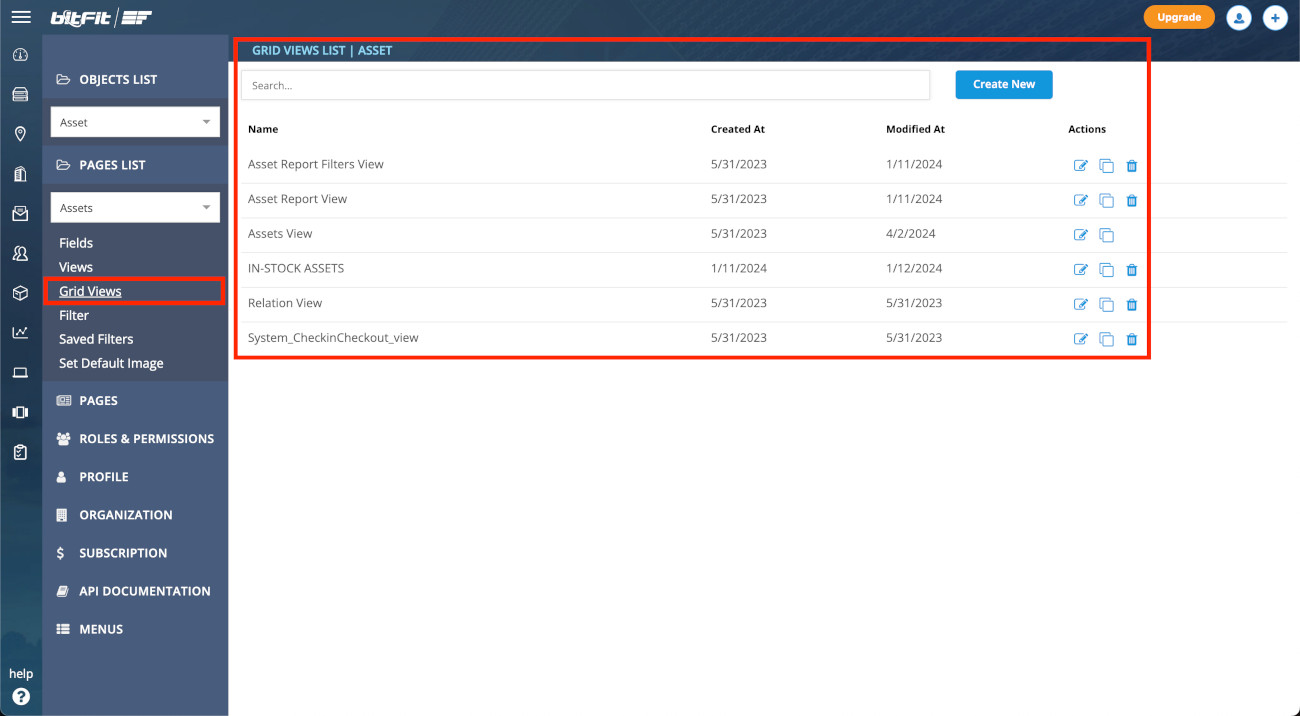
The Grid Views link provides access to all spreadsheet views (sets of columns) available in an account.
Object Filter
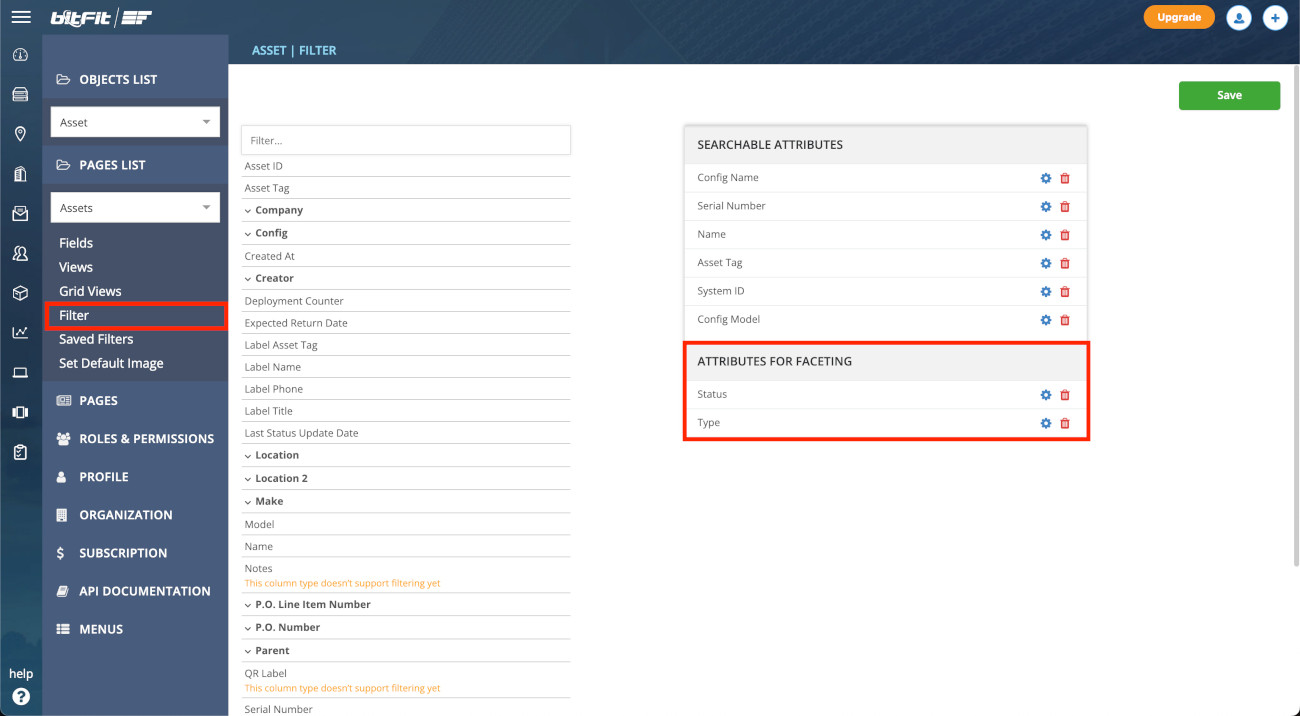
The Filter link allows you to specify which fields should be searchable. bitFit allows you to refine your search by targeting specific fields. This way, you can exclude larger text fields like notes or descriptions, enhancing your overall search experience.
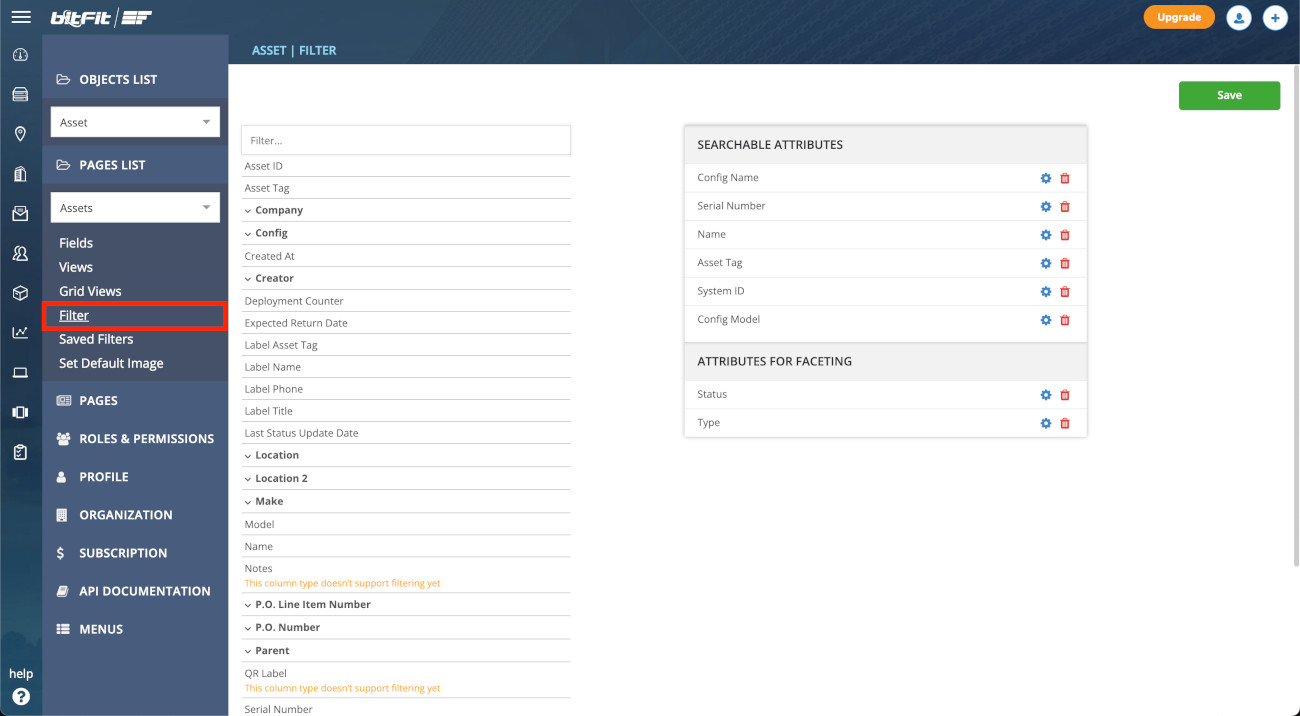
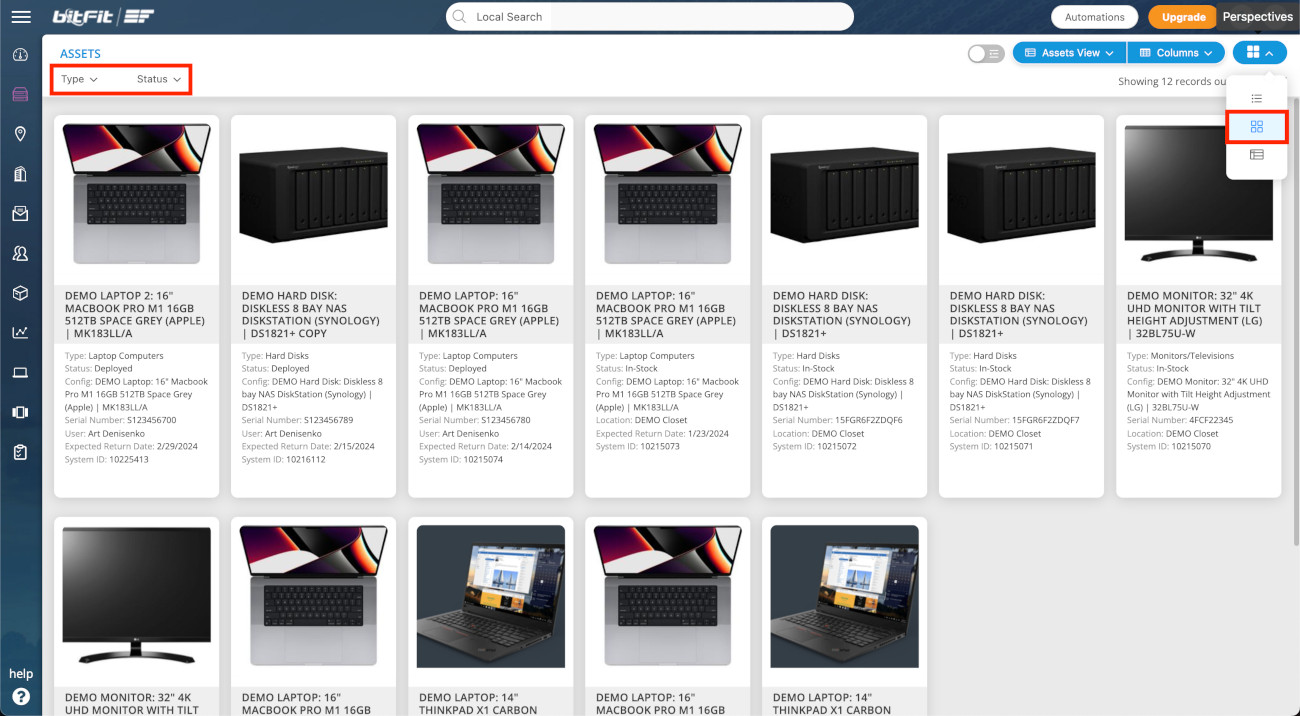
The Attributes for faceting block controls which filters should be included in the small and large tile views. The page UI offers three views: spreadsheet, small tiles, and large tiles. This feature allows you to add filter options specifically to the small and large tile views.
Object Default Image
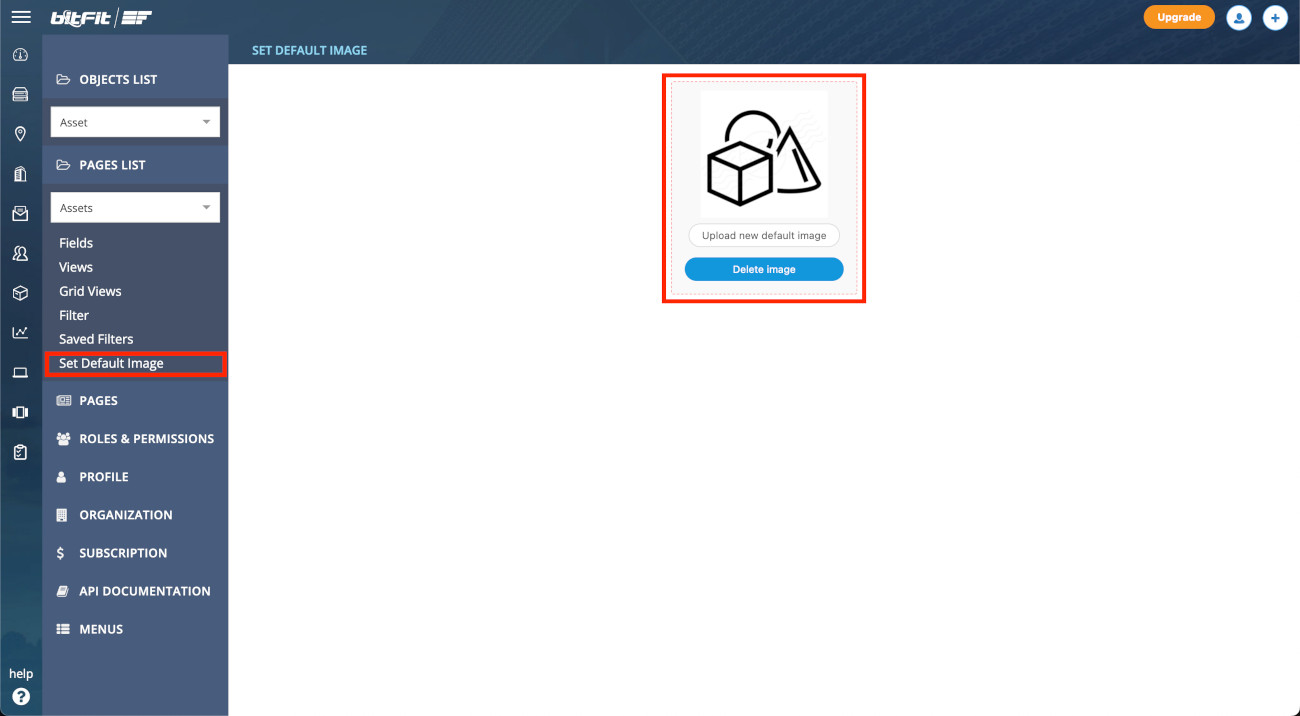
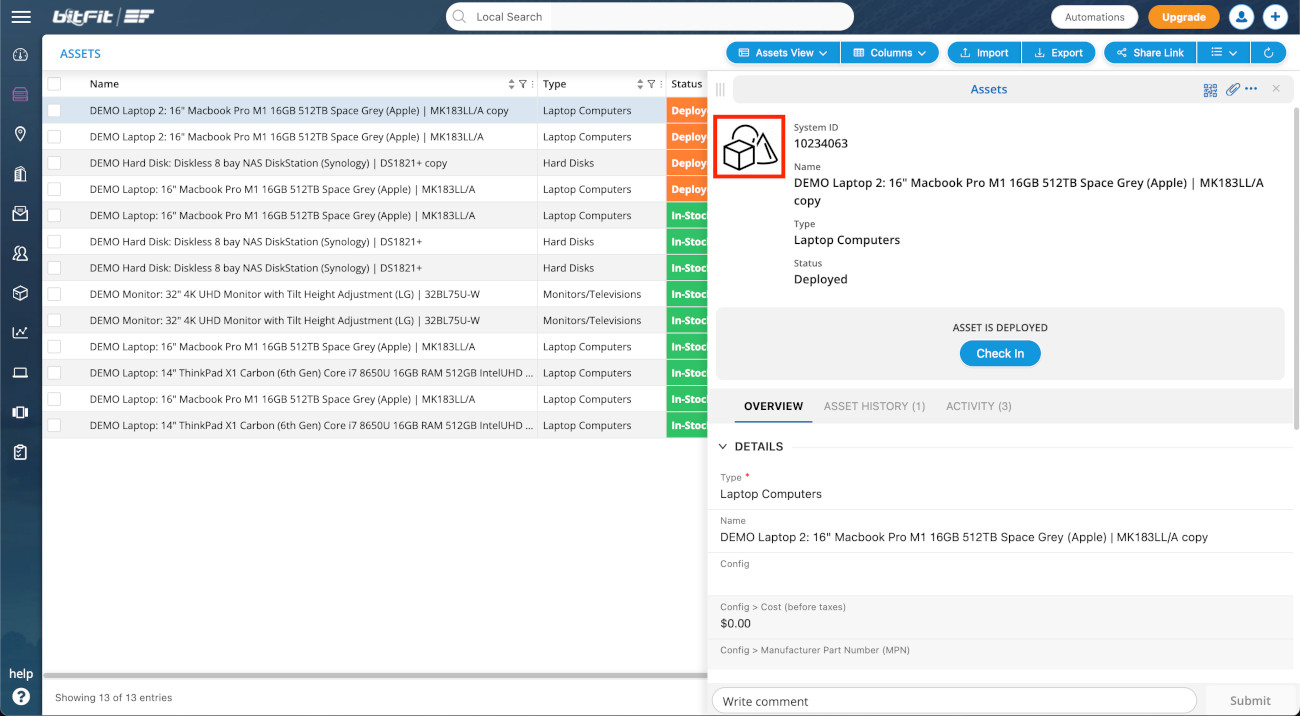
The Set Default Image link lets you specify an image to be displayed by default when a record is missing its own image.
Custom Pages
The Pages page lists all custom pages.
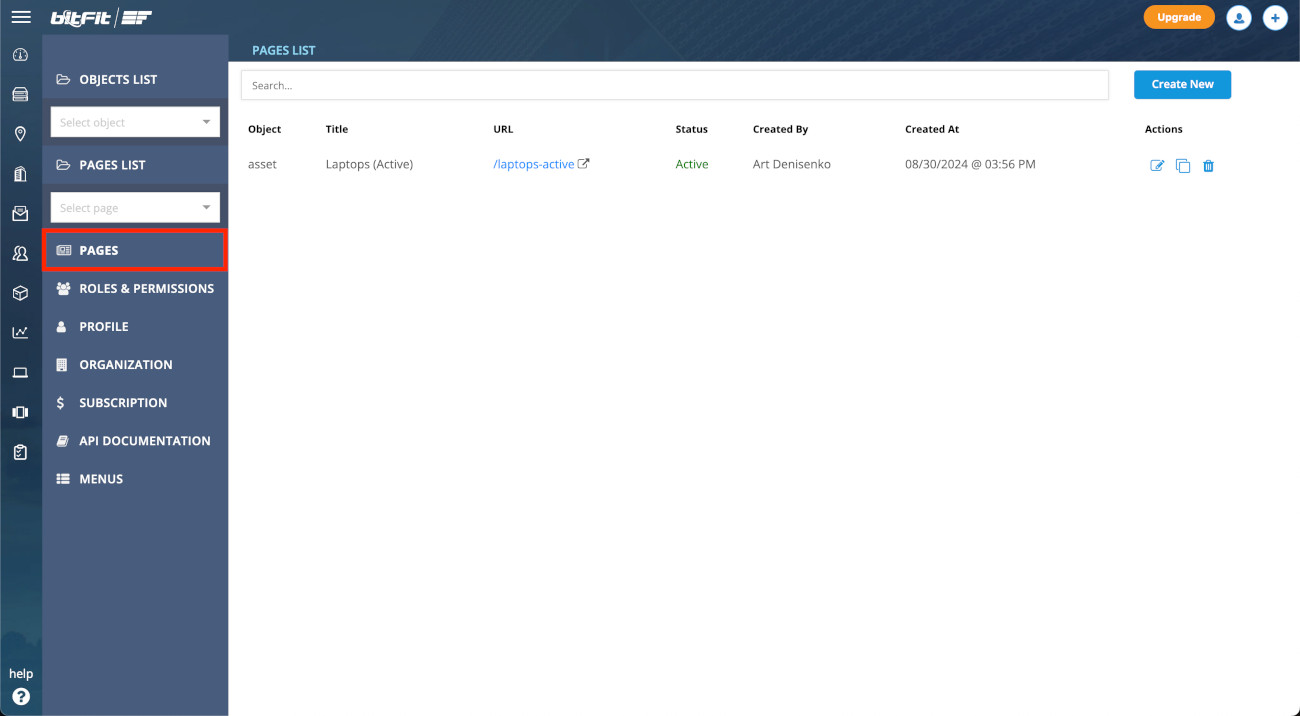
How to Add a New Custom Page
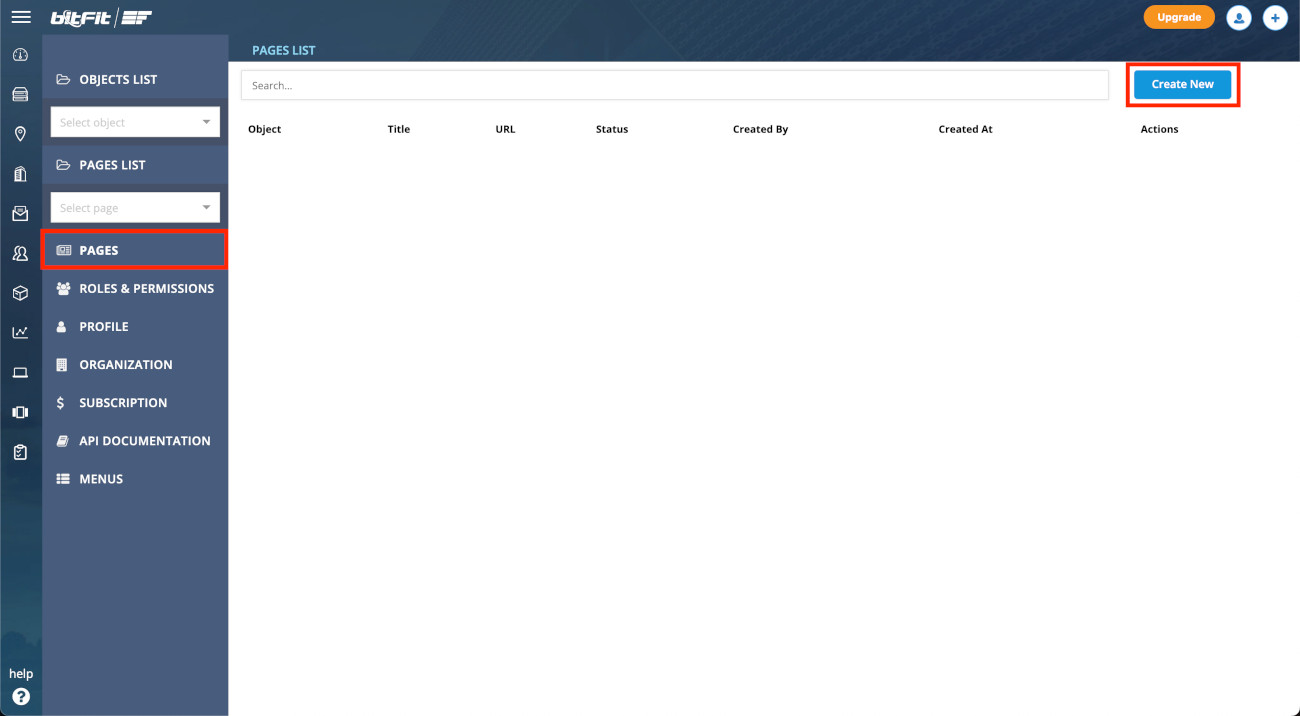
To add a new page, a user needs to click the Create New button.
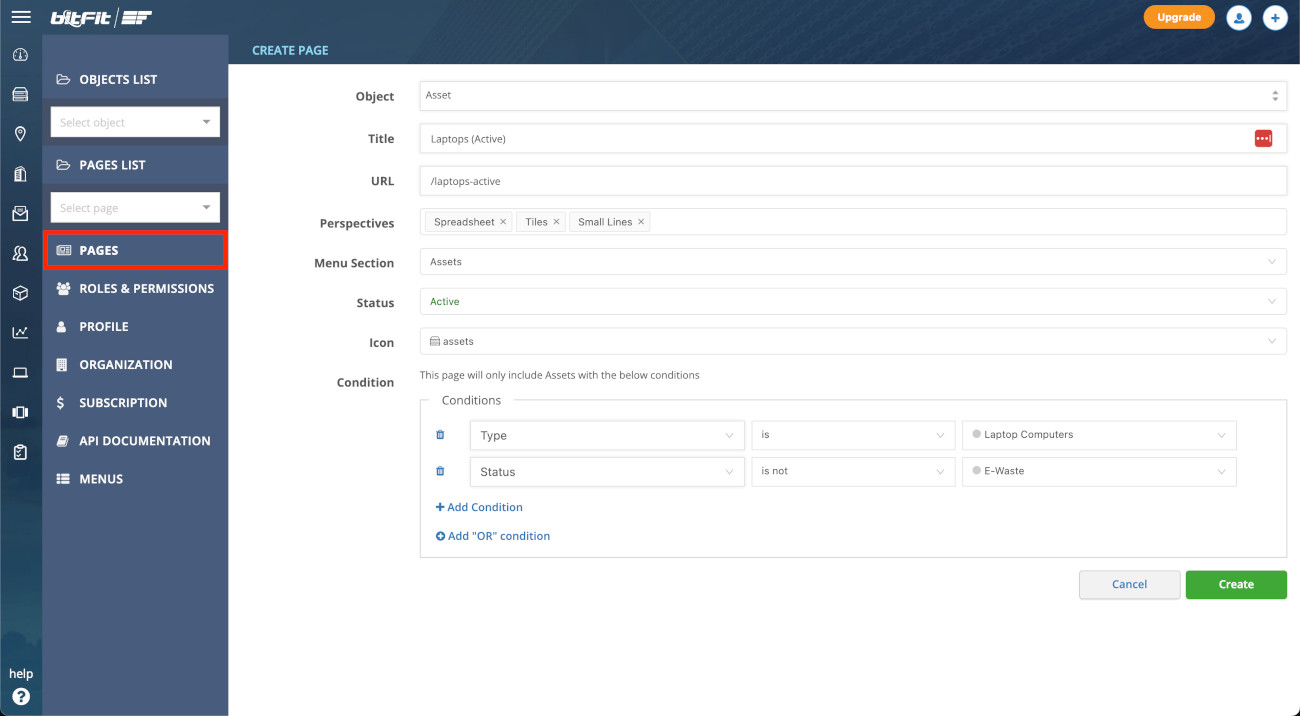
Once the Add New Page page is open, a user will find all the necessary elements to create a new page, including:
- Object: Select the object to which the page will be assigned.
- Title: The name displayed for the page.
- URL: The URL for the page.
- Perspectives: Choose which views the page should include and their order. You can also specify which view should be the default (first option).
- Menu Section: Define where the new page should appear in the menu.
- Status: Set the status of the page to control its visibility.
- Icon: Choose an icon for the menu link.
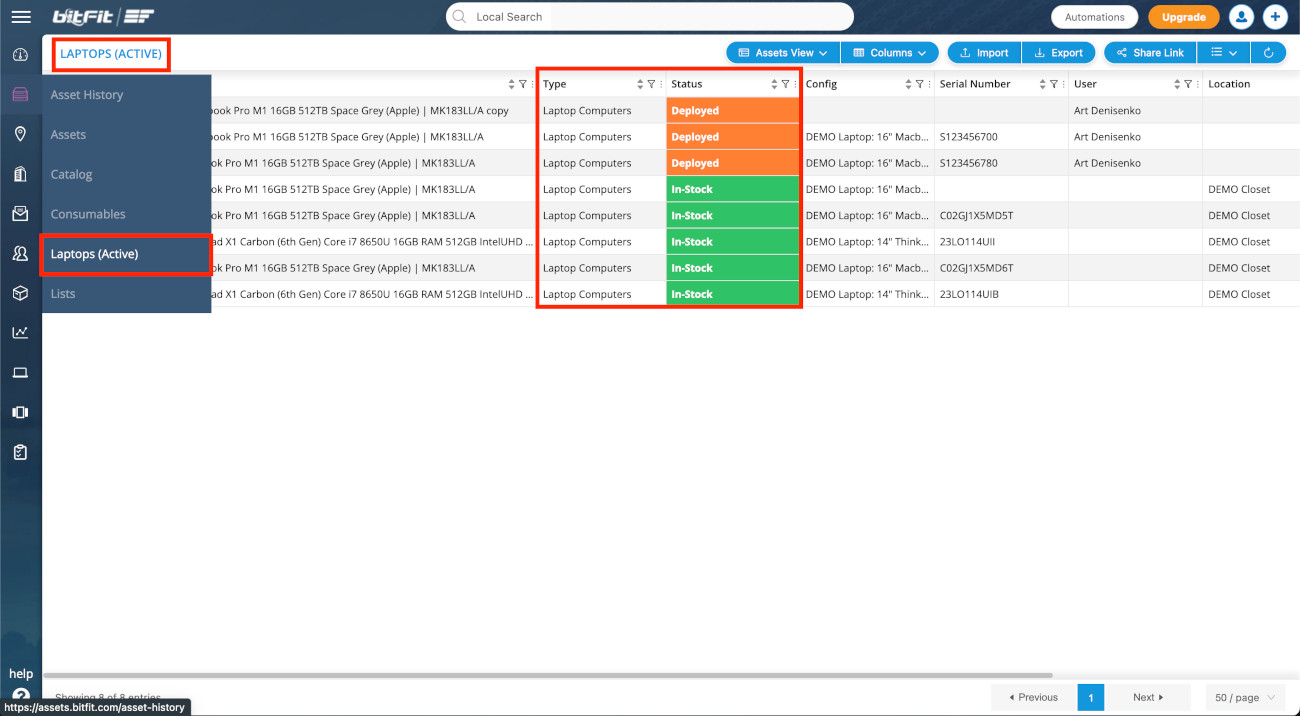
- Condition: Specify any filters to apply. This allows you to control which assets are shown, such as displaying only laptops or showing only active assets while excluding e-waste items.
Roles & Permissions
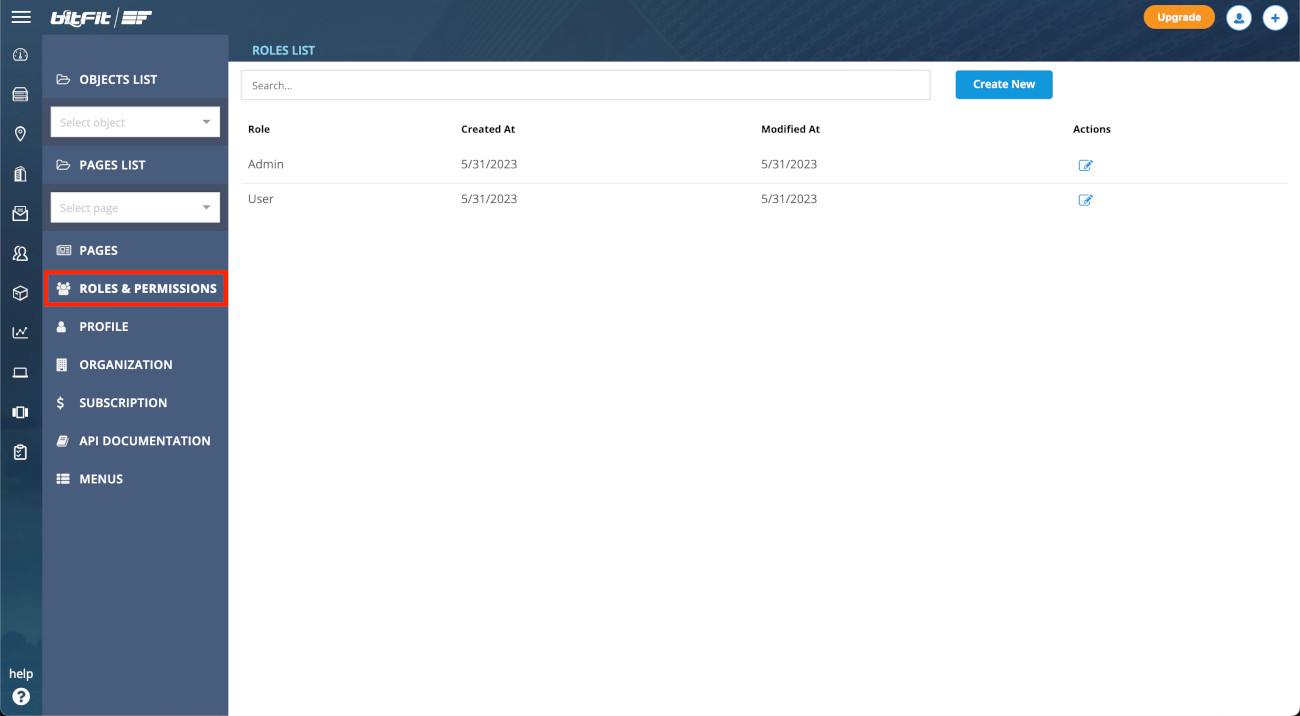
The Roles & Permissions page displays all roles that have been created in the system. It is also where users can create new roles and assign specific permissions to each role.
Profile
The Profile page allows users to update their personal details, including name, email, and password.
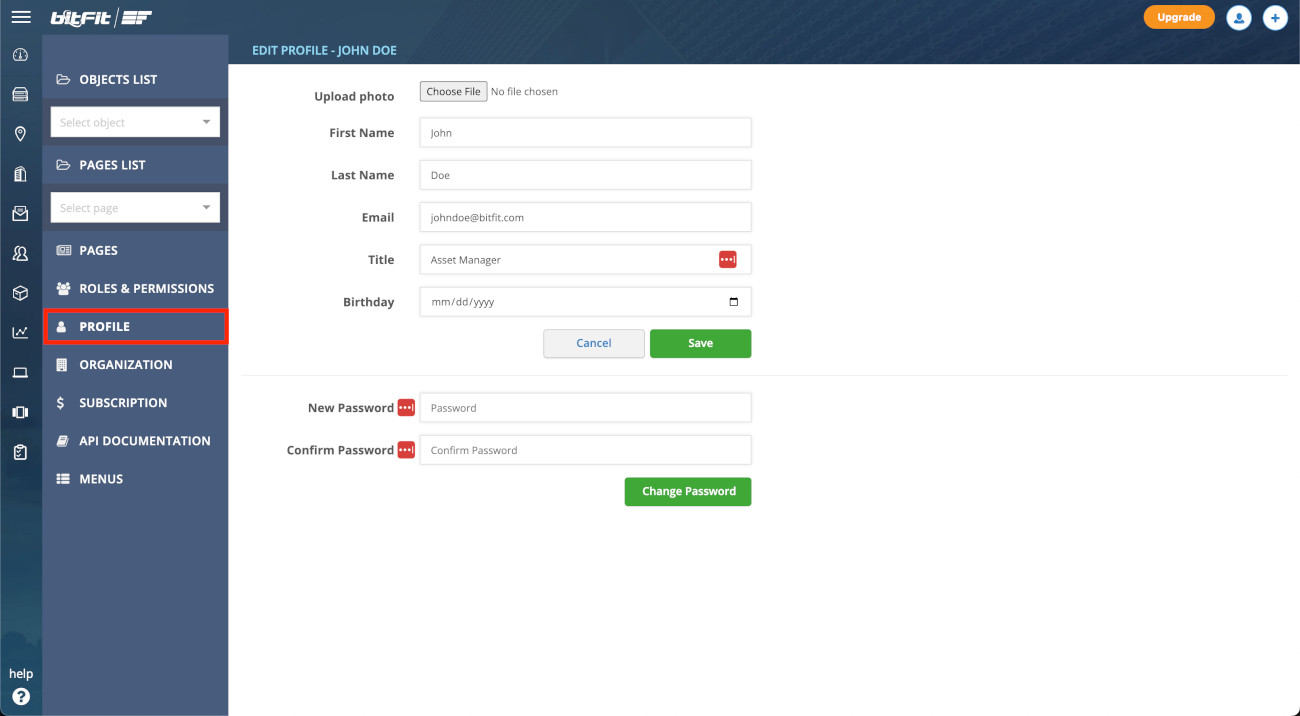
Additionally, this page is accessible from any other page in the application by clicking on the “user” icon in the top right corner.
Organization
The Organization page allows you to update the account name. It is also where Admins can find API credentials to begin working with the bitFit API.
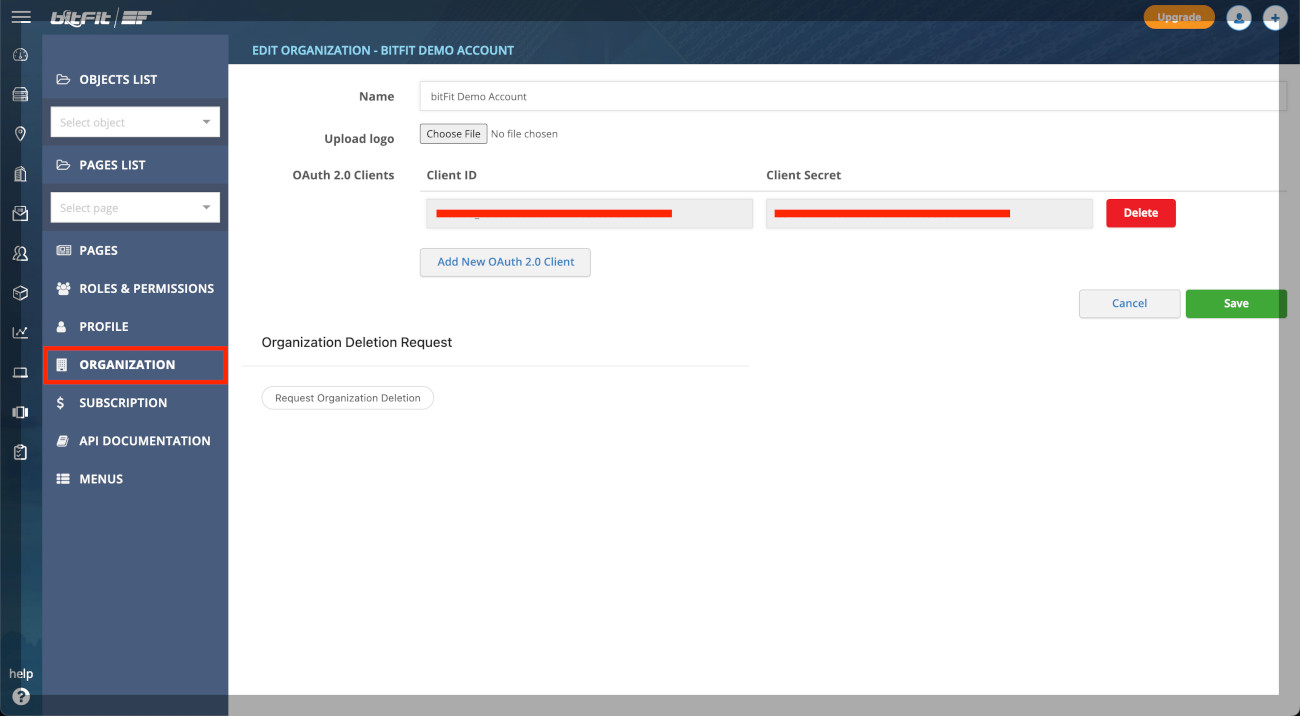
Additionally, this page is accessible from any other page in the application by clicking on the “building” icon in the top right corner.
Subscription
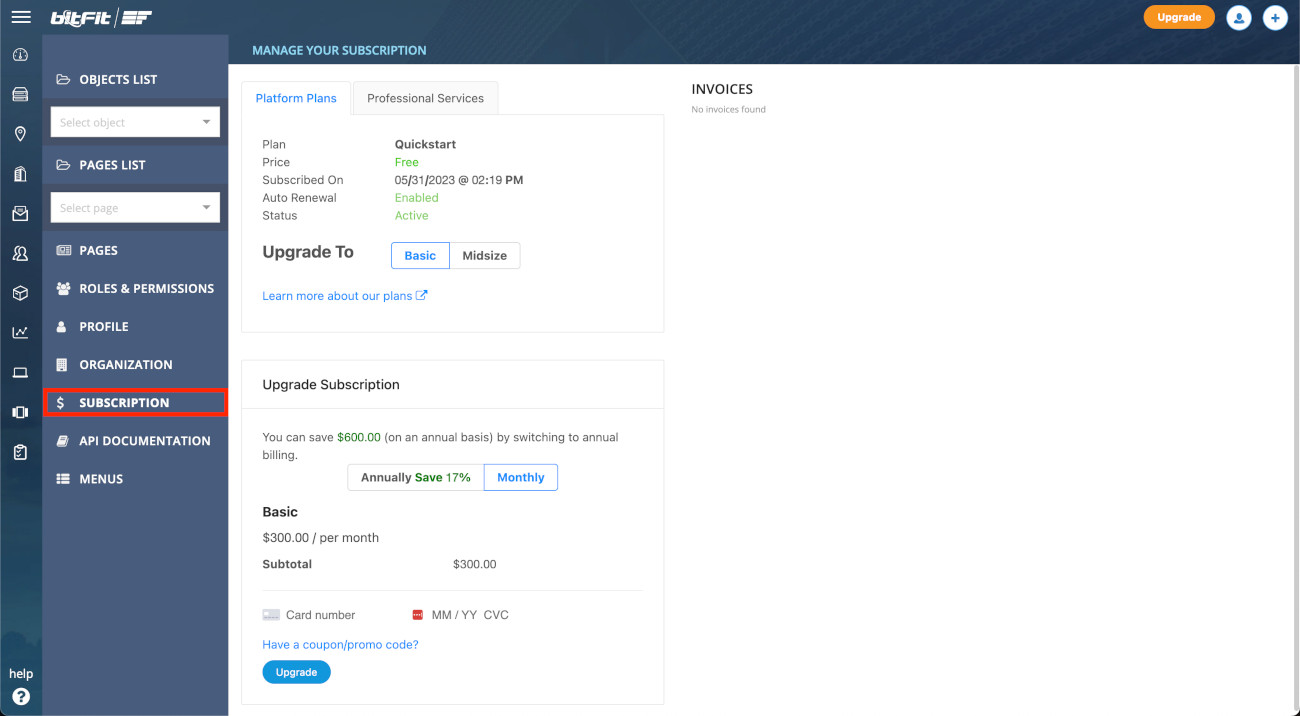
The Subscription page lists all your active subscriptions with bitFit. It also provides options to upgrade your plan and purchase professional service hours, allowing the bitFit team to assist with onboarding, process development, or custom feature creation.
API Documentation
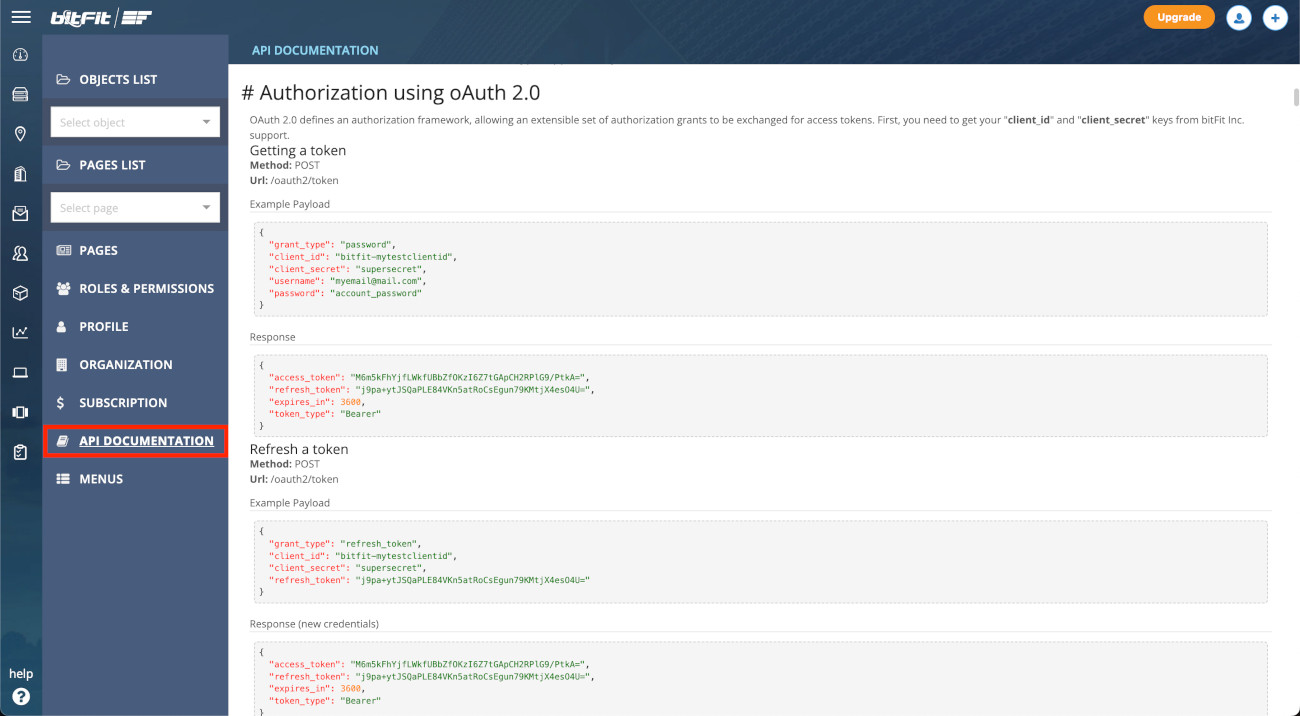
The API Documentation page provides all the information needed to start working with the bitFit API.
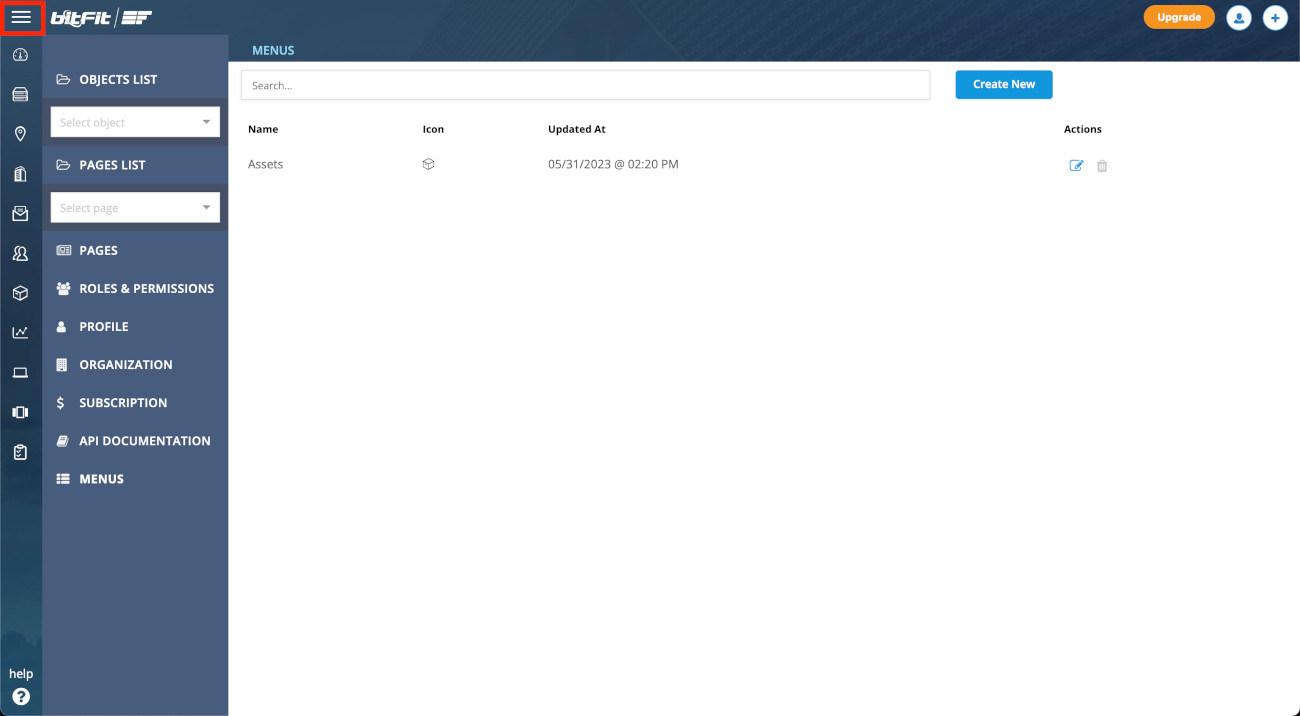
Menus
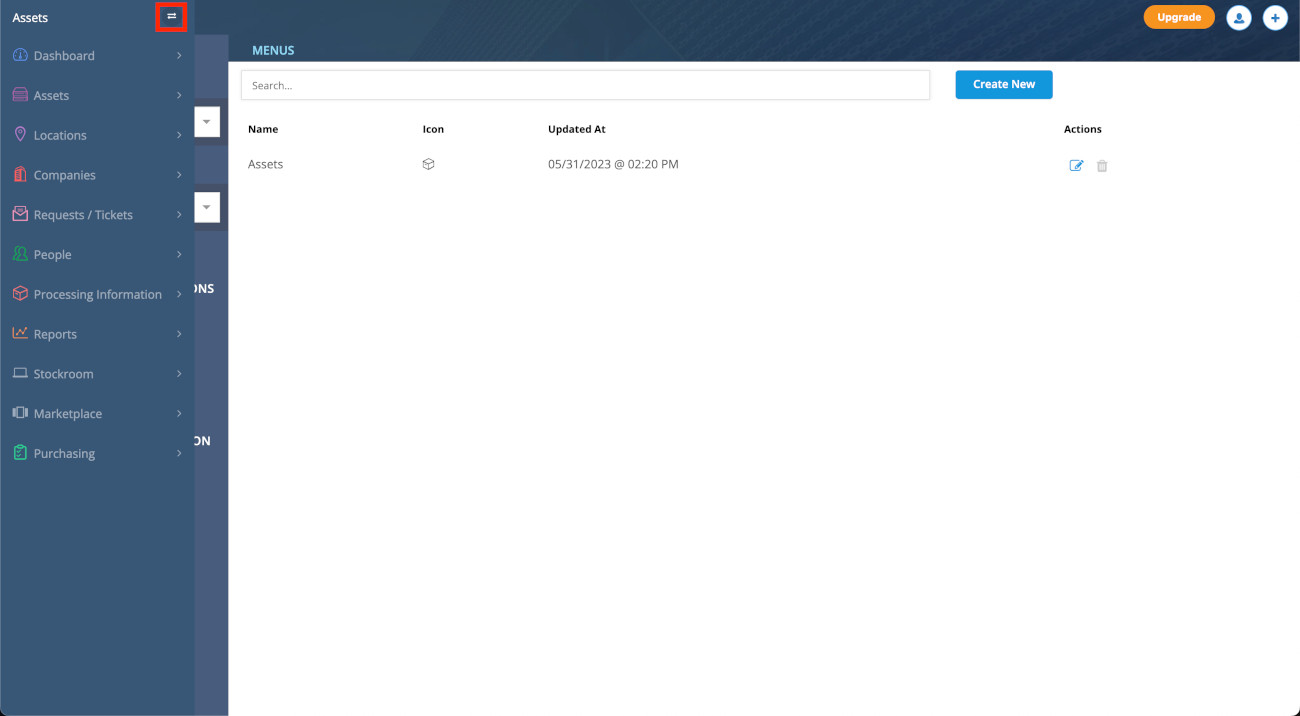
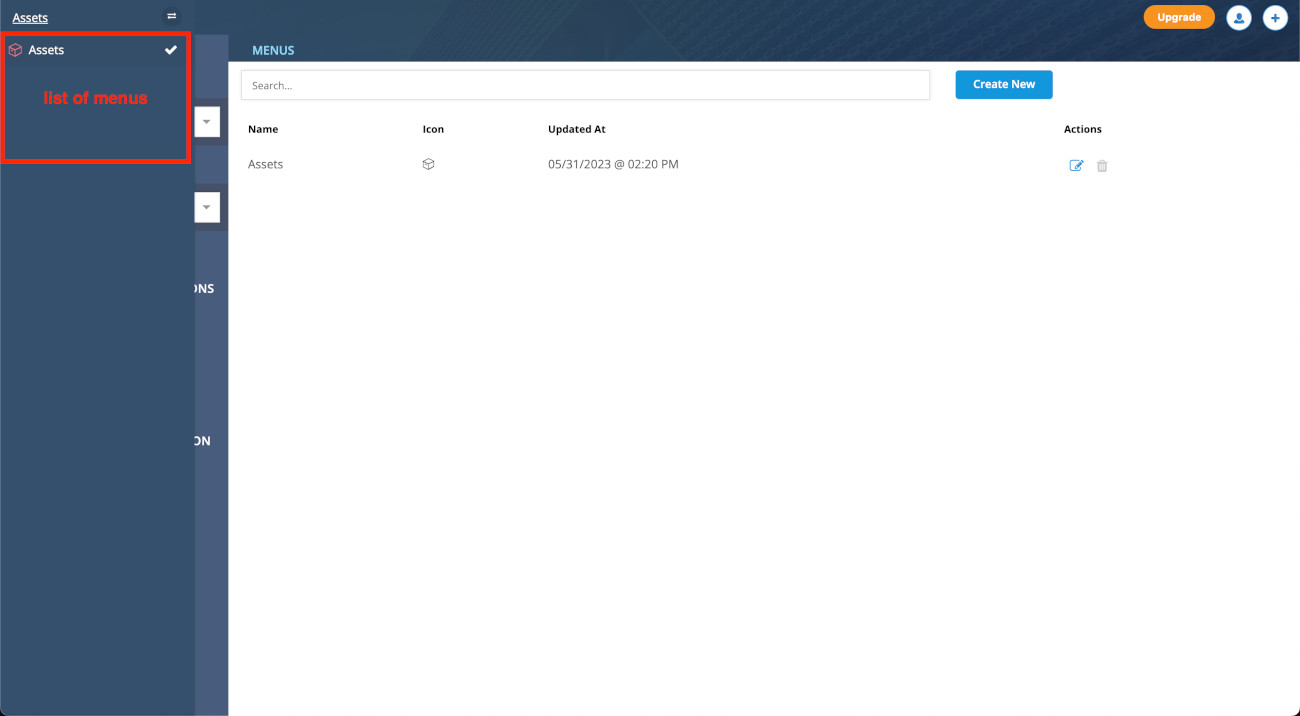
The Menus page lists all the menus associated with the account.
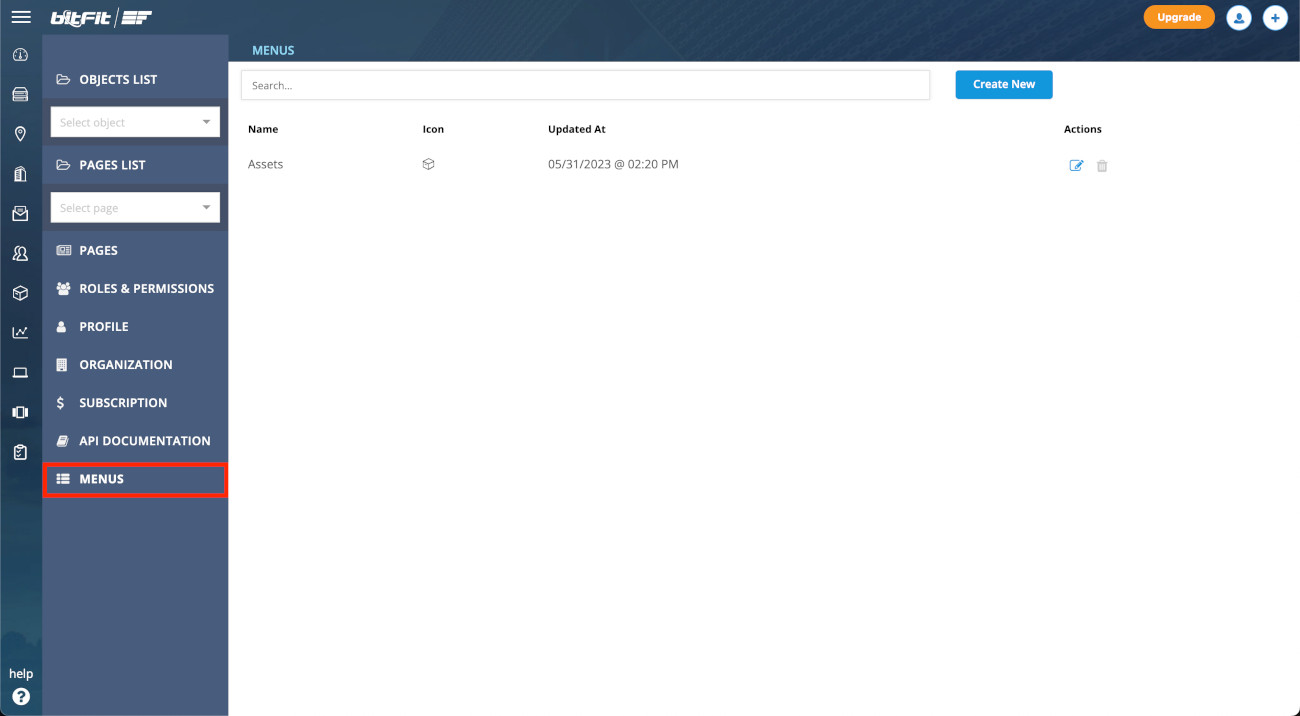
By default, there is just one menu. However, if you have too many menu items or want to create separate menus for different teams, you can do so by creating additional menus. This allows you to customize which pages are listed and grouped for each team.
